Part 3: AWS CodeDeploy with Automated CI/CD Pipeline 🚀 ☁

🌟 Introduction
In a journey of making a CI/CD pipeline on AWS with these tools, we have done AWS CodeCommit, CodeBuild and some parts of the CI pipeline. Now in this blog, we have moved to CodeDeploy with automated CICD pipeline workflow.
If we change a single dot or any change in the code, the pipeline starts automatically.
Let's learn these tools/services also:
Github
CodeDeploy
CodePipeline
S3
🌟 What is CodeDeploy?
AWS CodeDeploy is a deployment service that automates application deployments to Amazon EC2 instances, on-premises instances, serverless Lambda functions, or Amazon ECS services.
CodeDeploy can deploy application content that runs on a server and is stored in Amazon S3 buckets, GitHub repositories, or Bitbucket repositories. CodeDeploy can also deploy a serverless Lambda function. You do not need to make changes to your existing code before you can use CodeDeploy.
🌟 What is CodePipeline?
CodePipeline builds, tests, and deploys your code every time there is a code change, based on the release process models you define. Think of it as a CI/CD Pipeline service.
🌟Follow these steps to perform this hands-on Project
🔱TASK 1: Create new IAM Roles
✔Step 1: Create the first IAM role
Go to IAM service and click on roles.

Create an IAM role for the ec2 instance to communicate with code deploy.
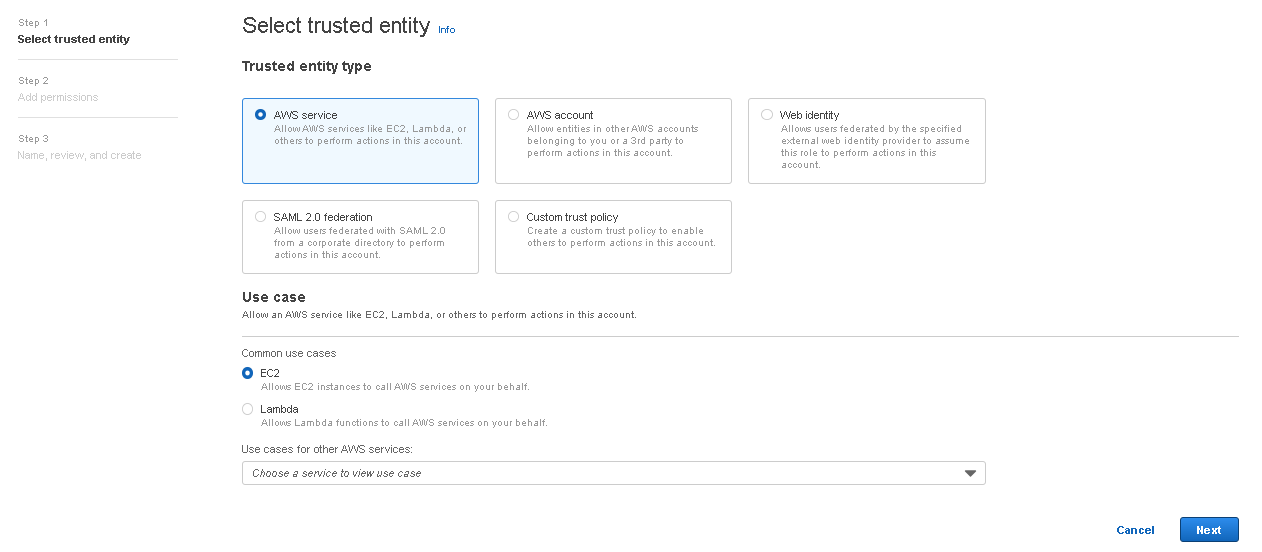


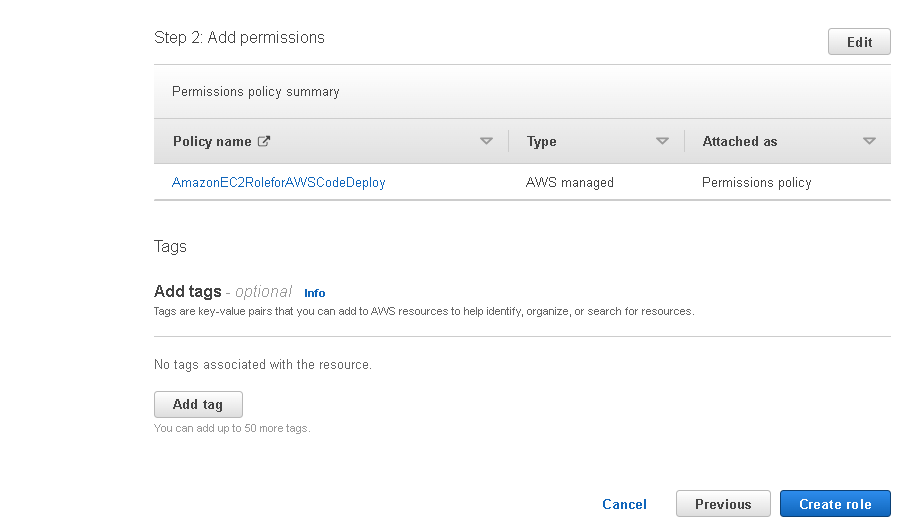
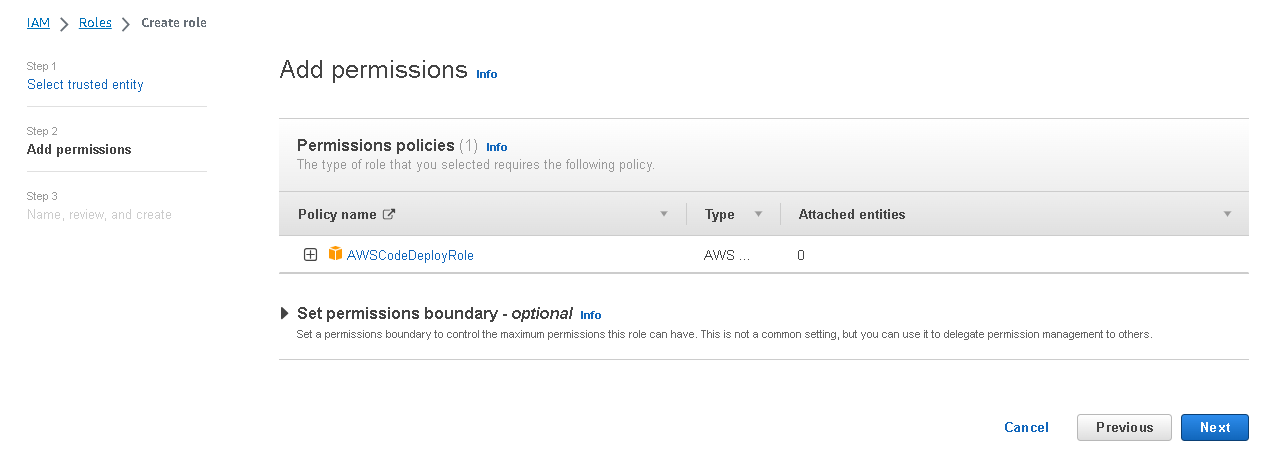
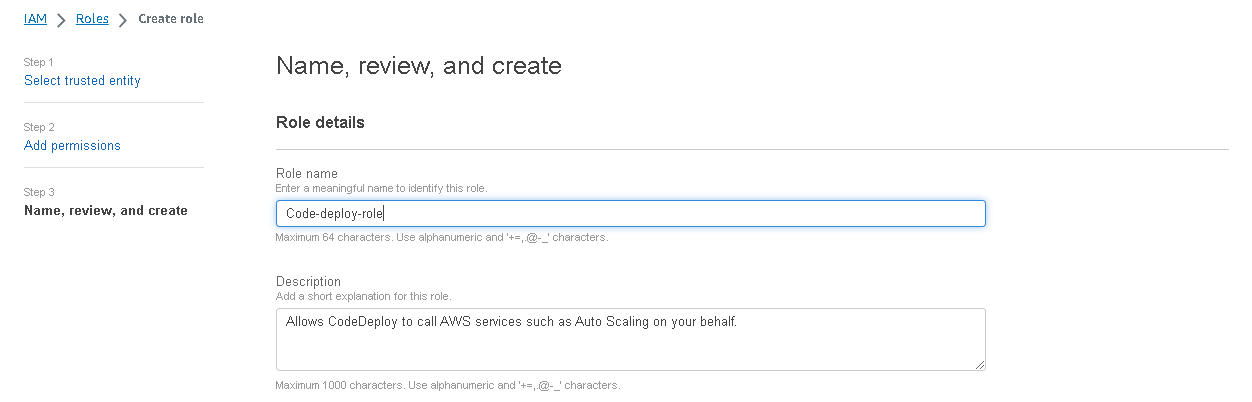
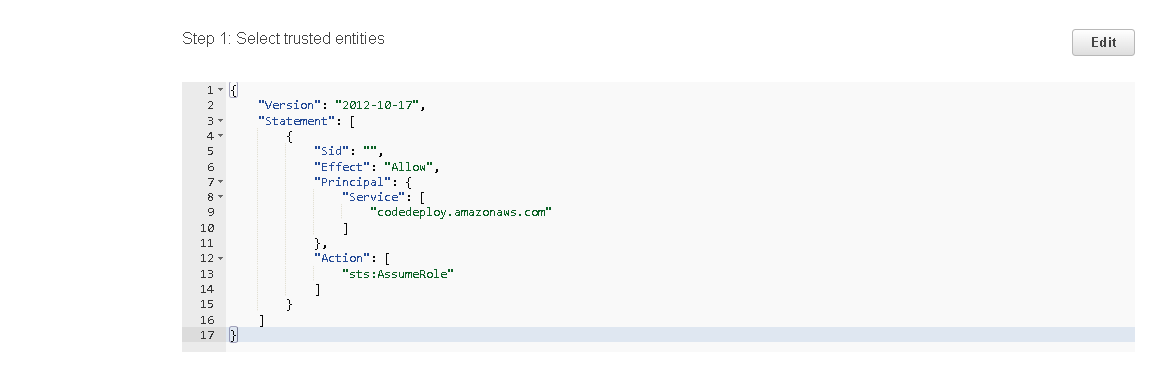
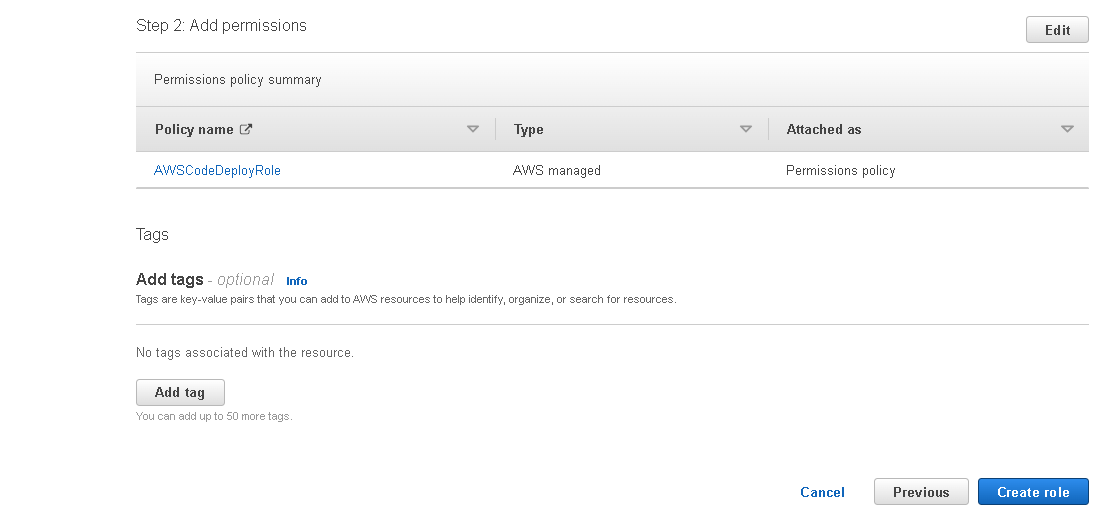
✔Step 2: Create a second IAM role
Create an IAM role for the code deploy to call AWS service on your behalf.


Finally, roles that we create.

🔱TASK 2: Launch an EC2 Instance
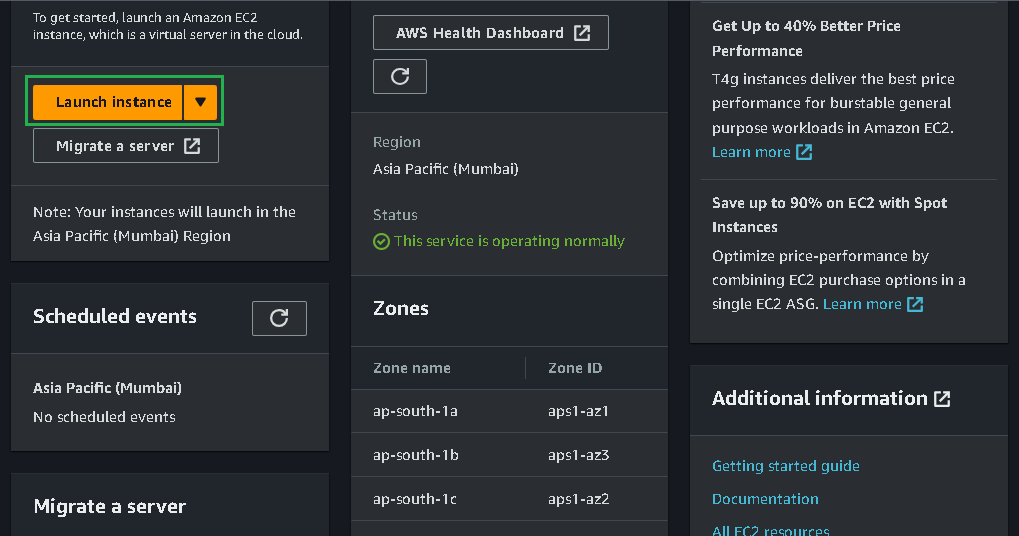
✔Step 1: Launch new ec2 instance
Go to aws console and search for ec2 then click on launch instance.
You can give a name to your server, ec2 instance example "sample-python-app".

The operating system and applications you wish to utilize on the virtual server should be represented by an Amazon Machine Image (AMI), so choose one of those.

Select an instance type that outlines your instance’s hardware specifications, such as the number of virtual CPUs, RAM and then the Key pair name.
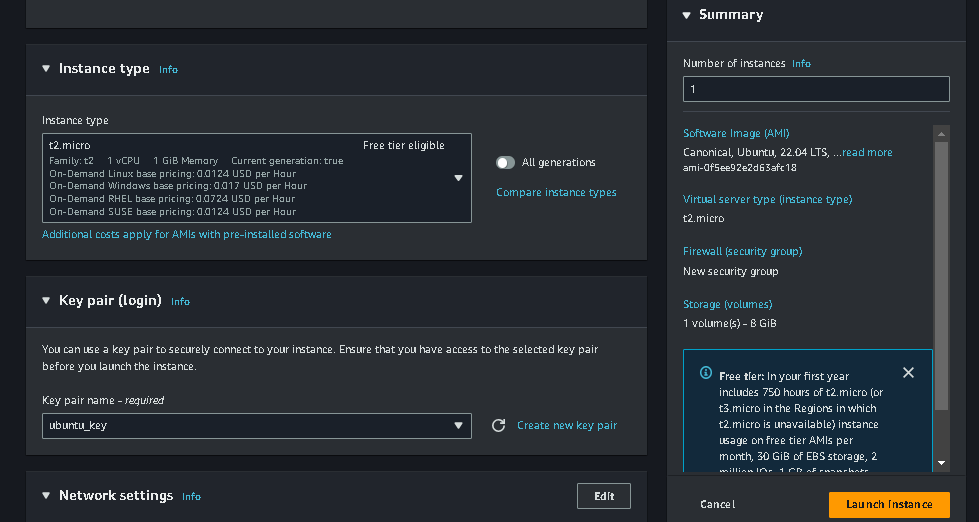
Set the instance’s parameters, including its number of instances and network configuration

Configure the EBS storage
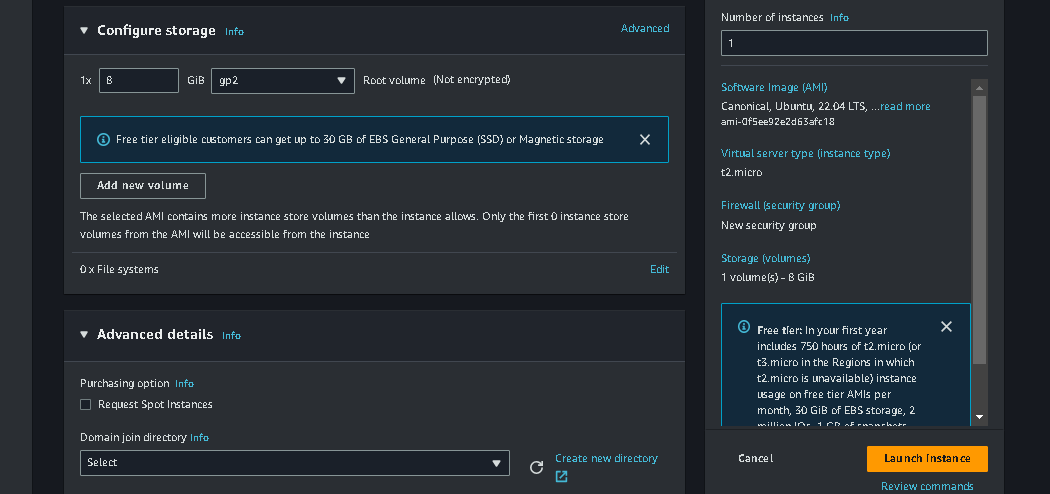
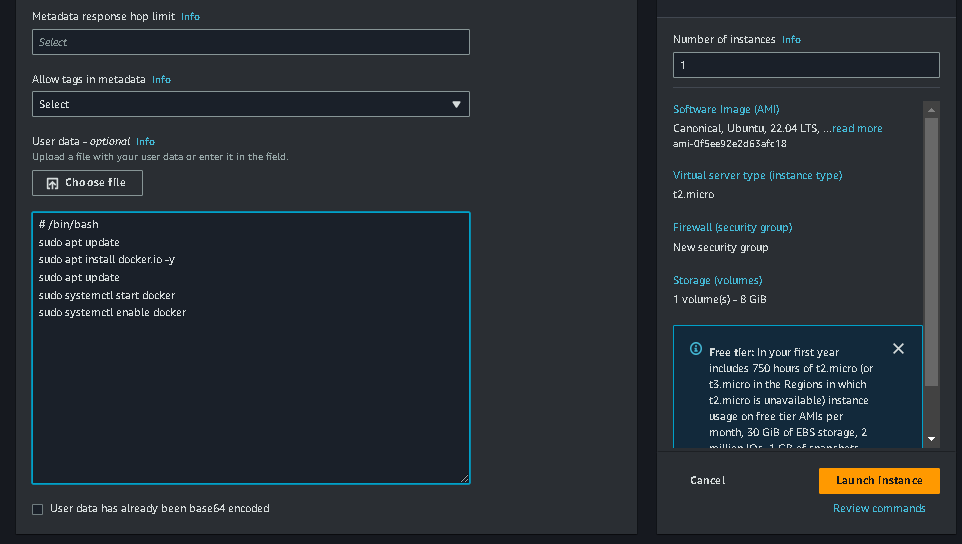
Add user data script, run at the time of server creation.
✔Step 2: Attach the IAM role to an instance
Attach a new role to your instance, after attaching this role your instance talks to the code deploy service.


✔Step 3: Setup CodeDeploy agent on your instance
Follow this URL to set up your agent on ec2.
sudo apt update
sudo apt install ruby-full
sudo apt install wget
cd /home/ubuntu
For the bucket name follow this URL
Example      - wget https://<bucket-name>.s3.<your-region>.amazonaws.com/latest/install
Practical - wget https://aws-codedeploy-ap-south-1.s3.ap-south-1.amazonaws.com/latest/install

chmod +x ./install
#To install the latest version of the CodeDeploy agent on any supported version of Ubuntu Server except 20.04
sudo ./install auto


# a> To check that the service is running
sudo service codedeploy-agent status
# b> If you see a message like error: No AWS CodeDeploy agent running, start the service and run the following two commands, one at a time:
sudo service codedeploy-agent start
sudo service codedeploy-agent status

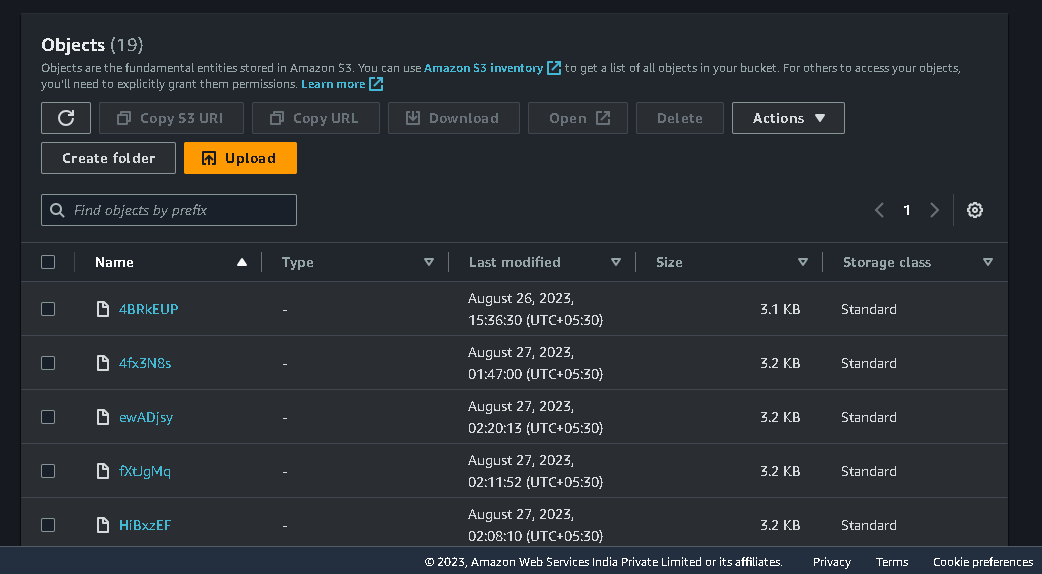
✔Step 4: New S3 bucket created automatically
A bucket is created after the agent setup is completed on an ec2 instance.

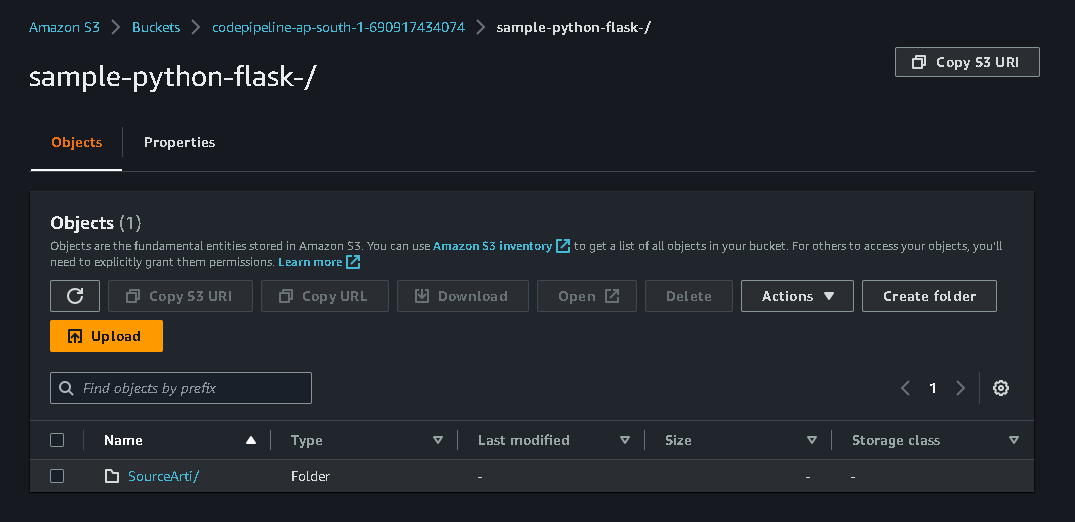
Here your source artifact is stored.
🌟 Task3: Setup CodeDeploy
✔Step 1: Create an Application
Go to the AWS console search for CodeDeploy and first create an application name before the code deployment group.

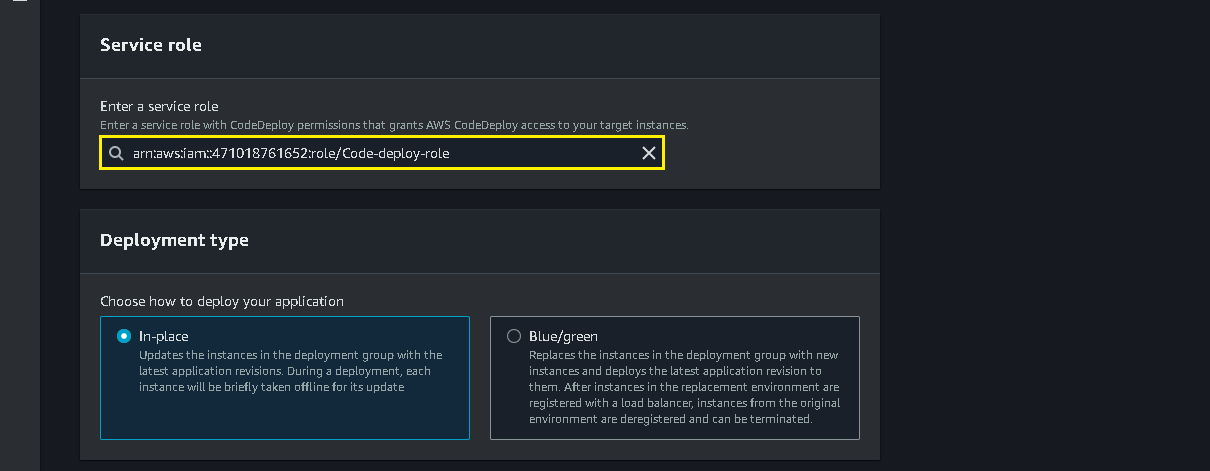
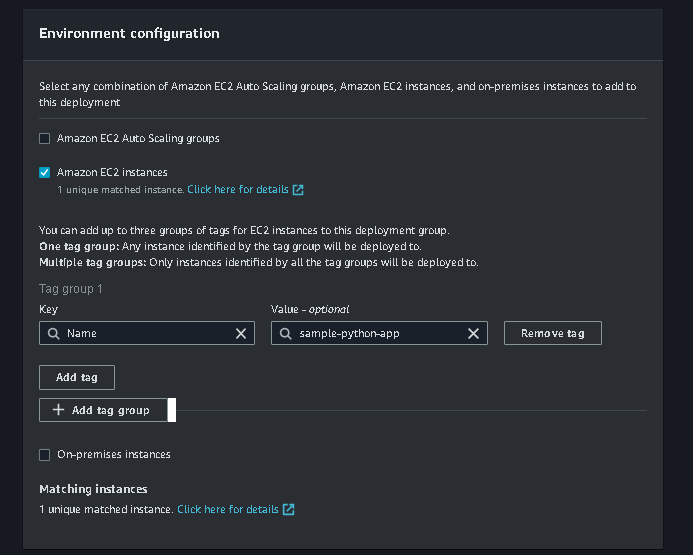
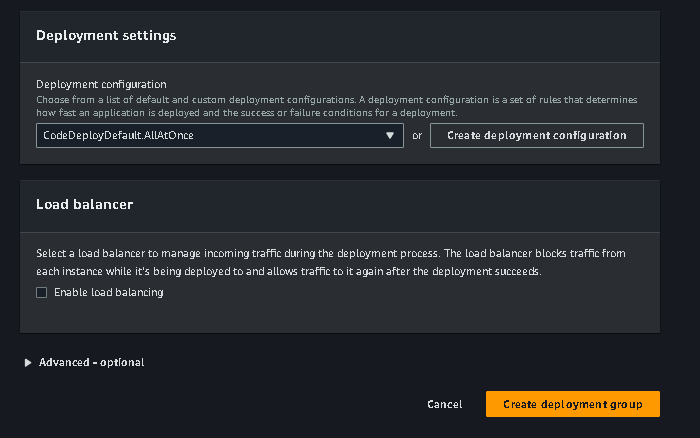
✔Step 2: Create Deployment Group
Create a new deployment group.

Provide a suitable name for your deployment group

Attach a service role you created at the time of IAM role creation "Code-deploy-role".

Click on Create Deployment Group.
✔Step 3: Create Deployment
Create a deployment for your application.
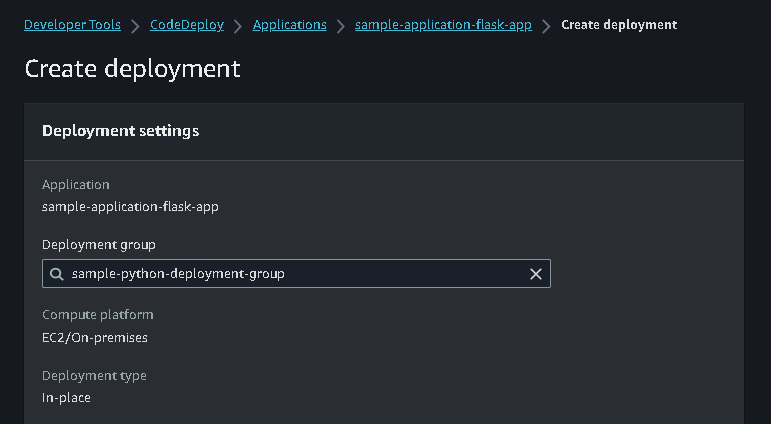
Now establish a connection with Github. Authorize AWS CodeDeploy with GitHub. Generate a GitHub token with a suitable name.


Copy the Commit ID and paste it on the deployment configuration with the repository name.
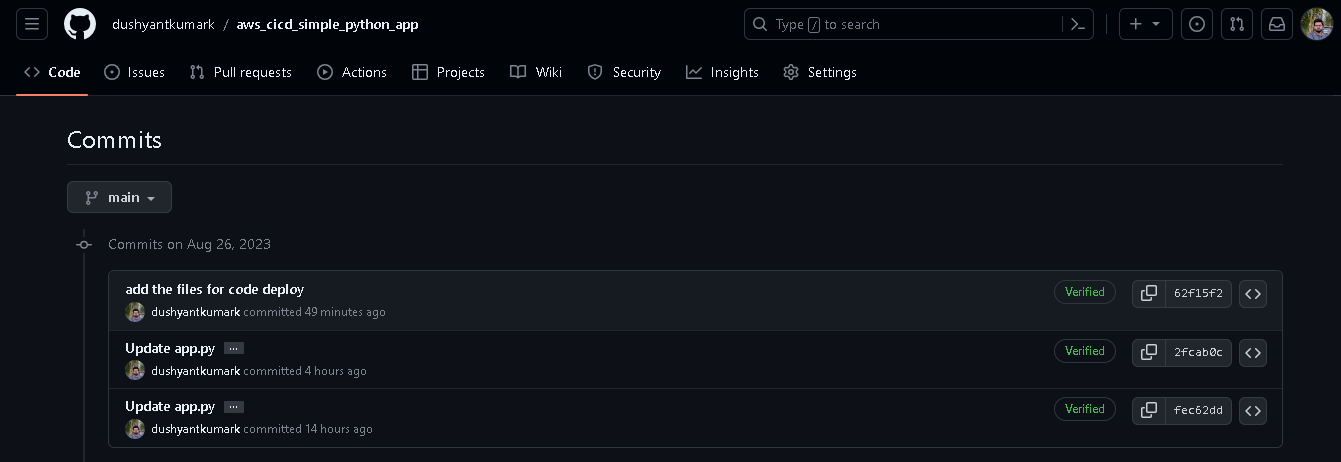
Enter the repository name and commit ID for the deployment process.


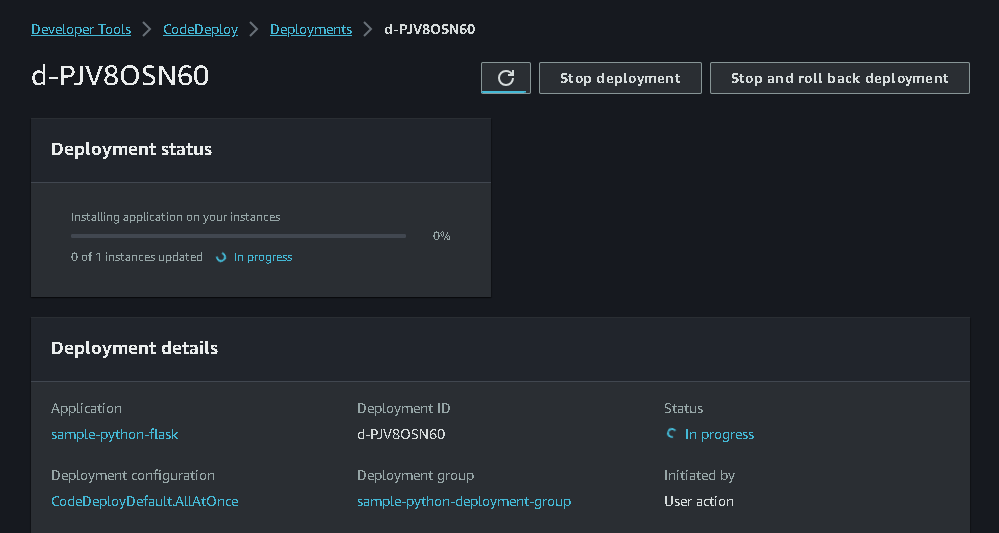
✔Step 4: Start Deployment
Your deployment starts automatically.
Deployment failed.

Code deploy phase details.

Checking Logs "docker not found".

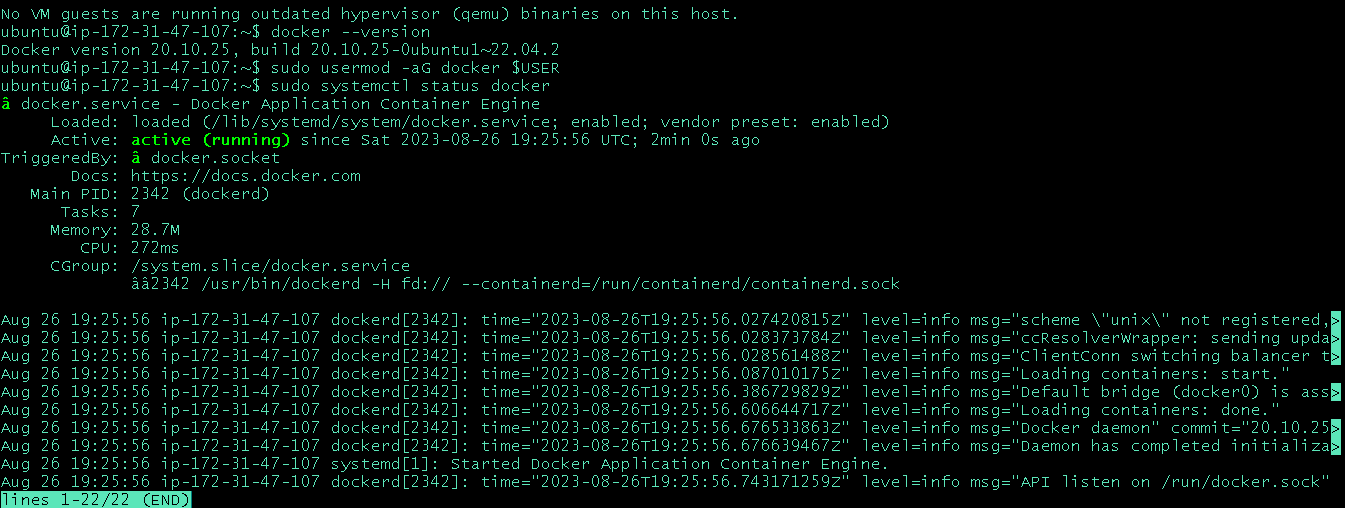
✔Step 5: Install Docker (Solving Errors)
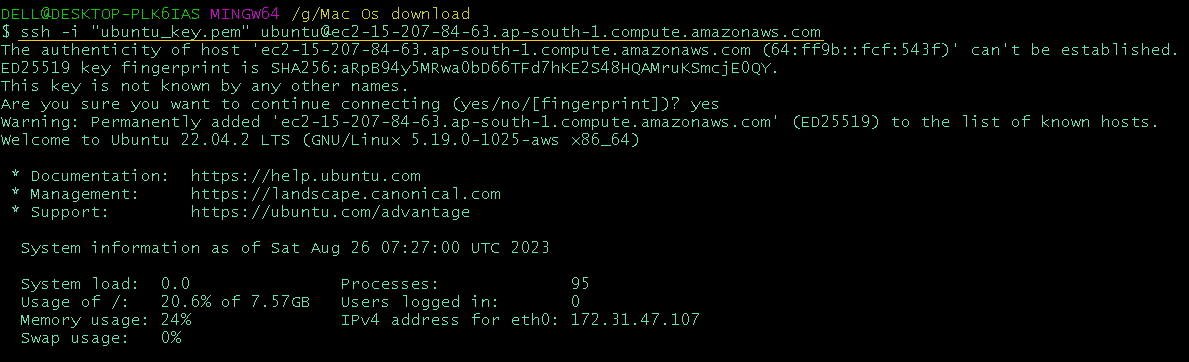
SSH your instance.

Install Docker and check the status of Docker.
sudo apt install docker.io -y
sudo systemctl start docker
sudo systemctl enable docker
sudo usermod -aG docker $USER
sudo systemctl reboot docker
✔Step 6: Start Deployment Again
Now deployment is successful.

Code deploy phase details.

docker container running successfully.

🌟 Task4: Create Pipeline integration
✔Step 1: Integrate Code Deploy with Code Pipeline
Search Code Pipeline in the AWS console

✔Step 2: Reexecution of previously built Pipeline (Source and Build) stages
Follow this blog link to learn how to integrate code build with code pipeline.

✔Step 3: Add a new stage in the pipeline
Add a new stage in the code pipeline "code-deploy".
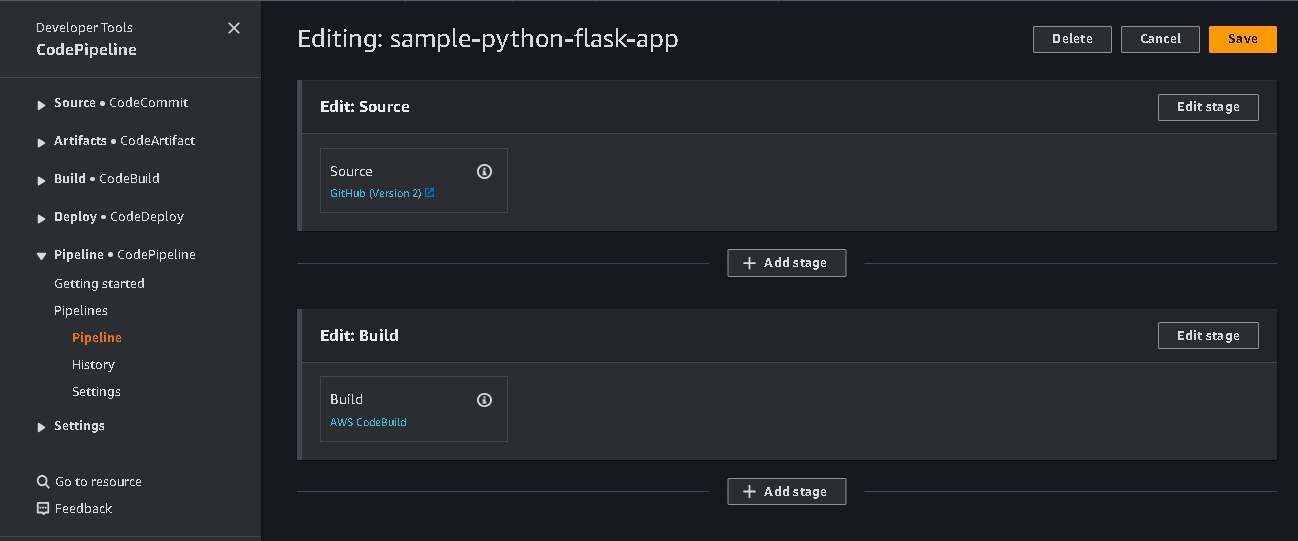

Now edit the code-deploy action. Add the action provider "AWS CodeDeploy" with the application name and deployment group.


Click on save stages.

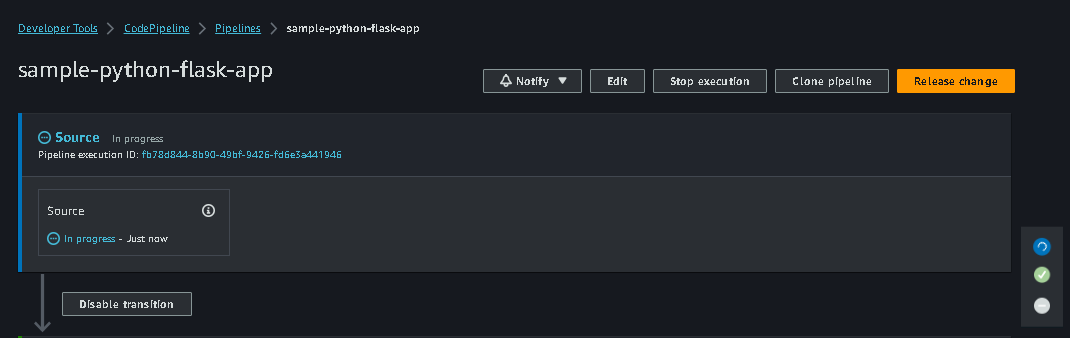
✔Step 4: Start Pipeline Execution
Now start the pipeline execution to check the "Source, Build and code-deploy" stage.
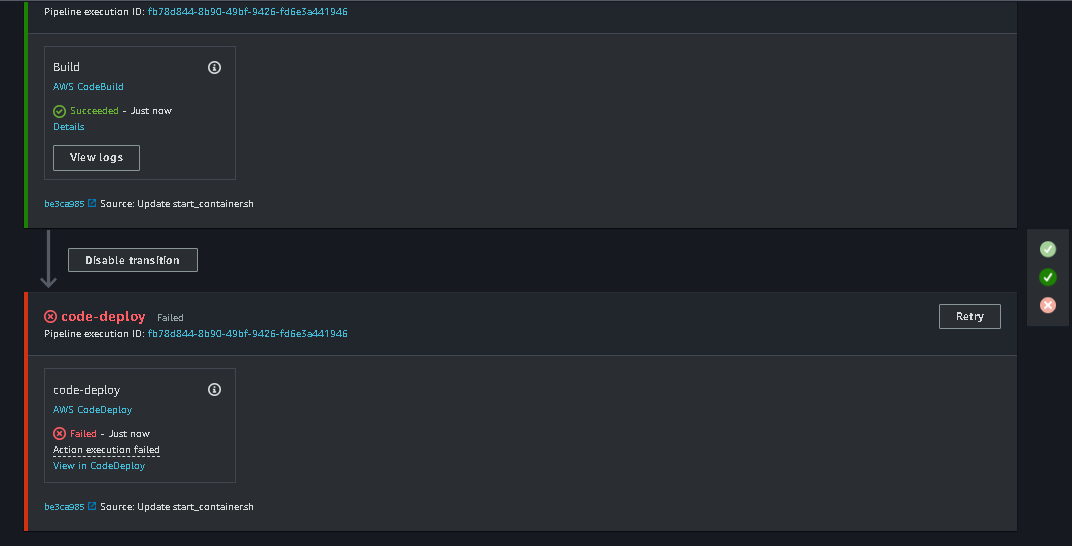
"Build" Stage Successful.

The "code-deploy" stage failed. Now check the reason for the failure.
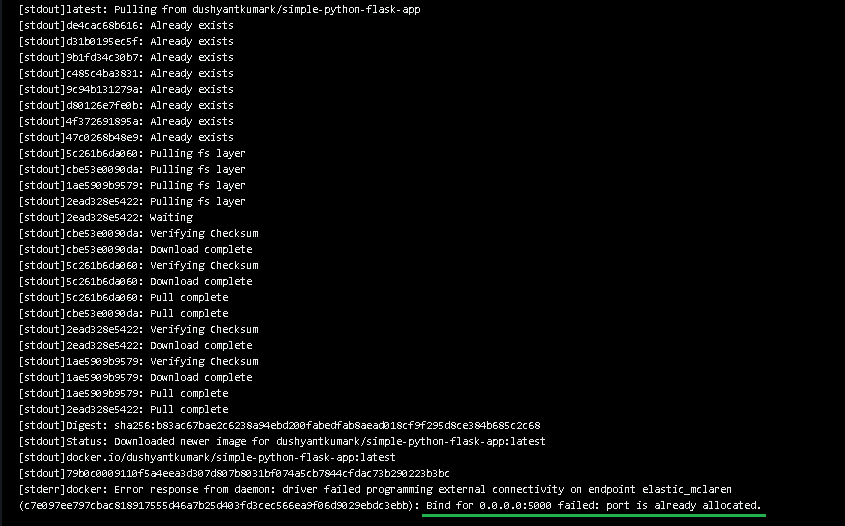
Checking logs of the "code-build" stage. The reason for failure is "port is already allocated"
✔Step 5: Create Script in Github
First, kill/ remove the previous running container "at the time of code deploy".
docker ps
docker rm -f <container_id>
or
docker rm -f <container_name>
docker ps

Create a script for stopping a running container and creating a new container with the same port number "stop_container.sh"

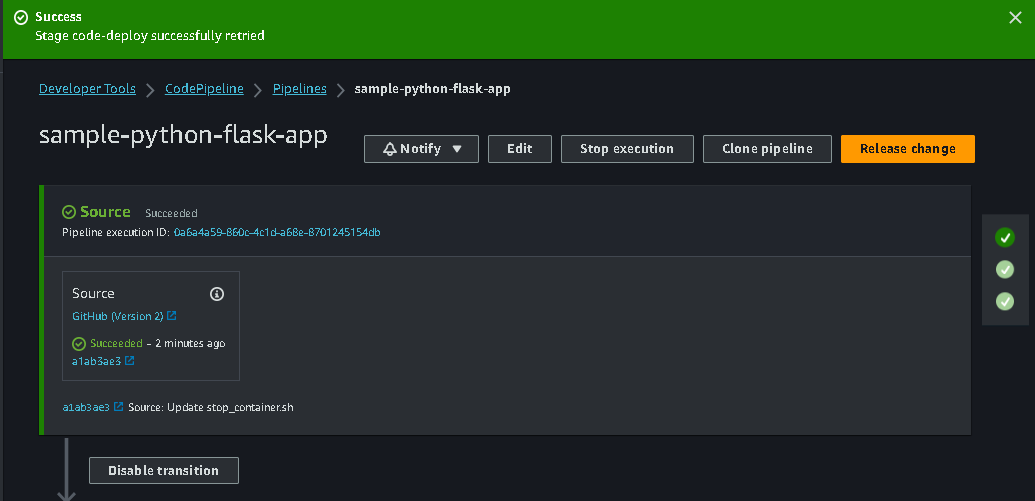
The pipeline starts automatically.
The "source" stage is successful.
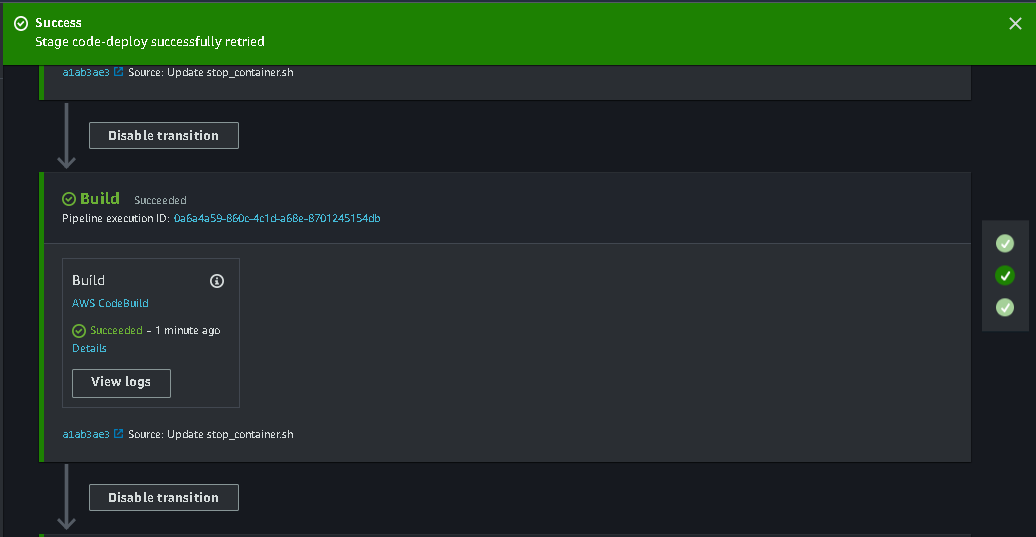
The "Build" stage is successful.
The "code-deploy" stage is successful.

Check running container
docker ps

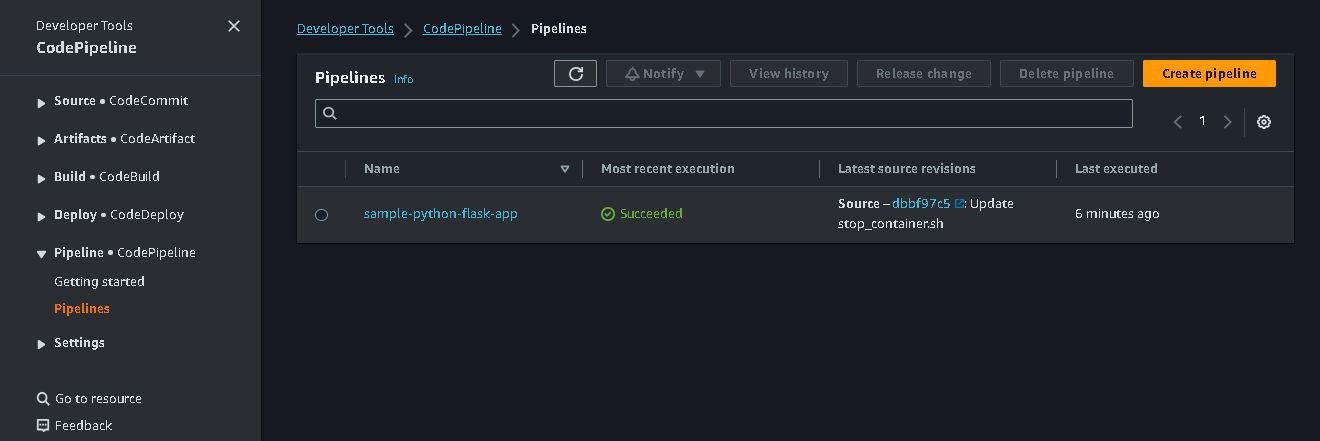
Code Pipeline has succeeded.
Updated Docker Image

\...................................................................................................................................................
The above information is up to my understanding. Suggestions are always welcome. Thanks for reading this article.😊
#aws #cloudcomputing #codecommit #github #git #Devops #TrainWithShubham #90daysofdevops #happylearning
Follow for many such contents:
LinkedIn: linkedin.com/in/dushyant-kumar-dk
Blog: dushyantkumark.hashnode.dev
Github: https://github.com/dushyantkumark/aws_cicd_simple_python_app.git


