Part 2: AWS CODE BUILD & PIPELINE INTEGRATION🚀

🌟 What is CodeBuild?
AWS CodeBuild is a fully managed build service in the cloud. CodeBuild compiles your source code, runs unit tests, and produces artifacts that are ready to deploy. CodeBuild eliminates the need to provision, manage, and scale your own build servers.
🌟 What is CodePipeline?
CodePipeline builds, tests, and deploys your code every time there is a code change, based on the release process models you define. Think of it as a CI/CD Pipeline service.
🌟Follow these steps to perform this hands-on Project
🔱TASK 1: Perform your GitHub Operations
✔Step 1: Create a new repository
Create a new repository for your project.

✔Step 2: Clone "AWS_CICD_simple_python_app" repository
Clone your newly created repository.

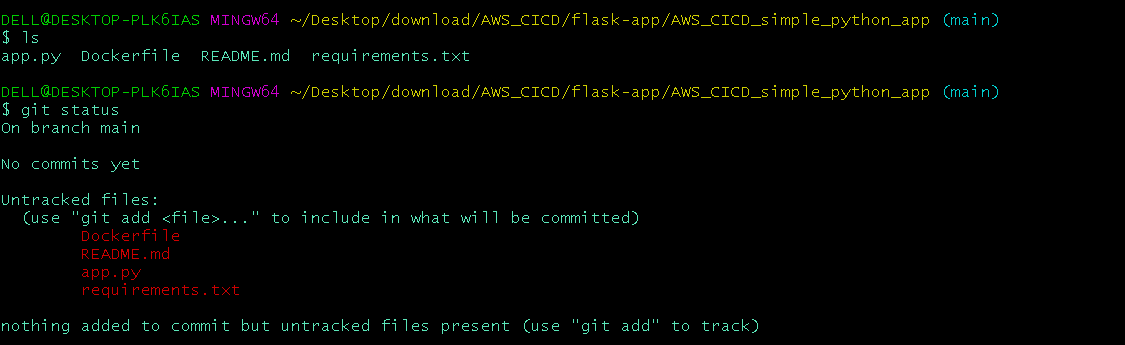
Add new files for your Python-related project. After adding some more files to your local repository check your status of the local repository.
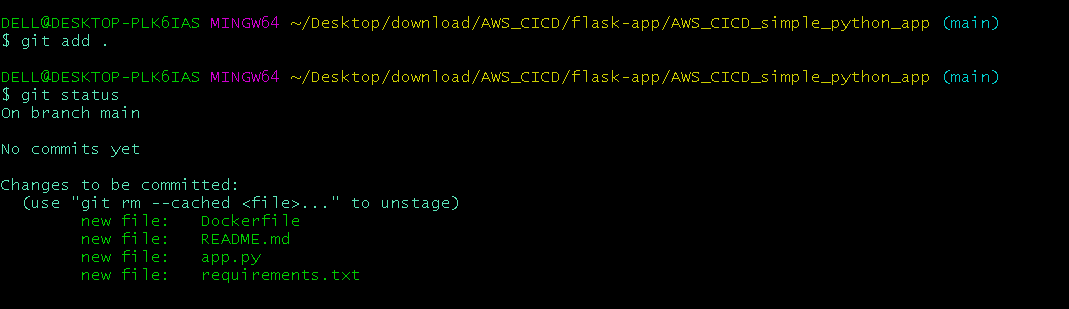
Perform the adding operation and then check your local repository status. Now you tracked your files.
Give specific commits to the files you added.

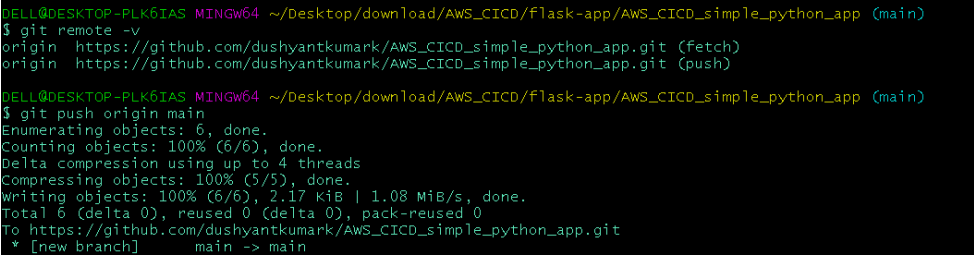
Push your files from the local repository to the code-commit repository.
🔱TASK 2: AWS Code Build (Build, Test and Push Code to Docker Hub)
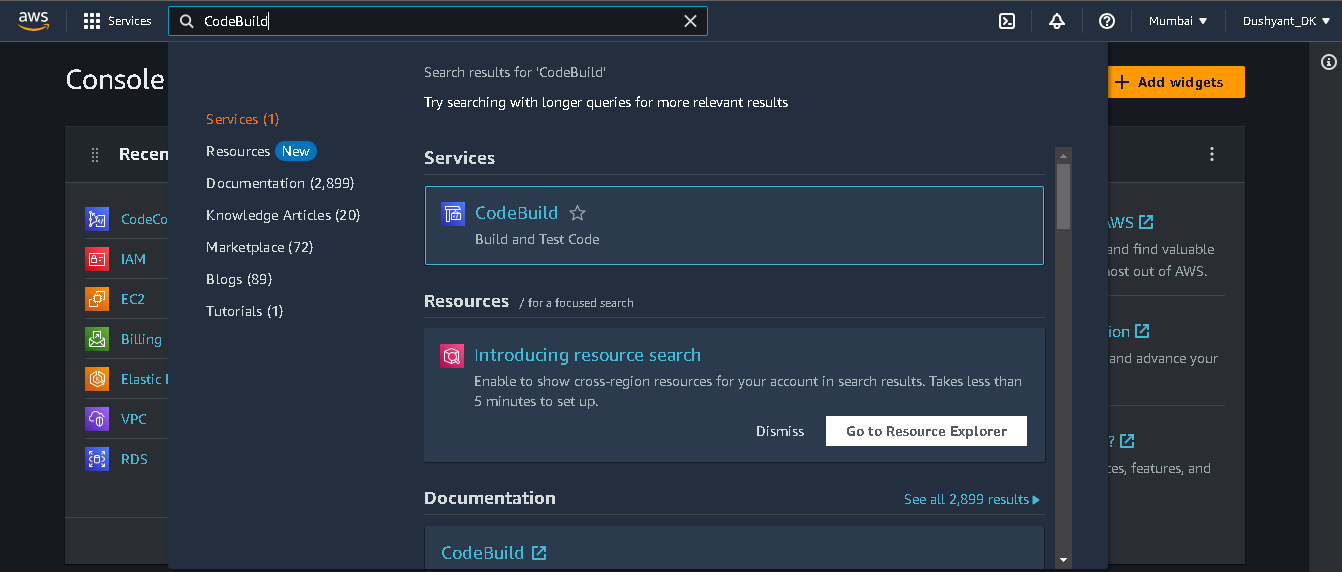
✔Step 1: Go to AWS Console and search CodeBuild
✔Step 2: Create a new Project for CodeBuild
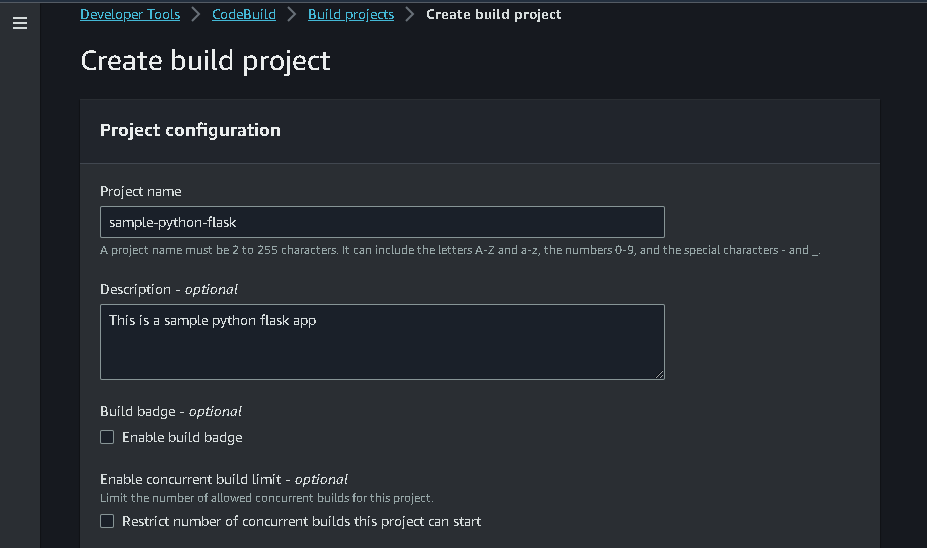
Create a project for a Python application where you build, test and push code to the docker hub), It is a CI (continuous integration) process in AWS.

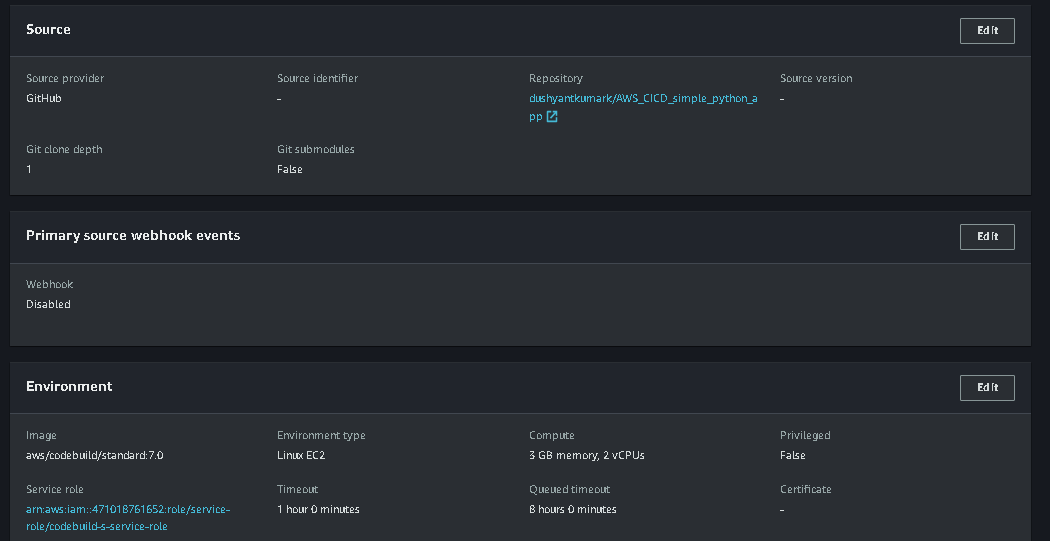
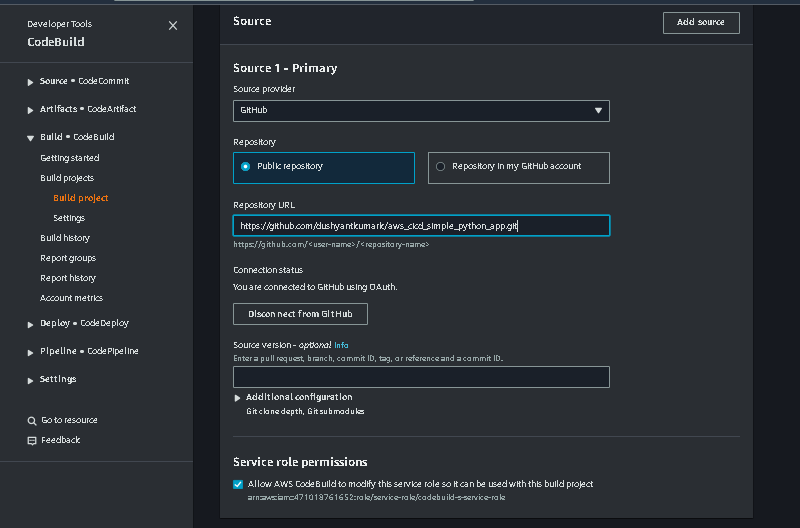
Create a project configuration, you define every detail regarding the project.
Change your source provider from AWS CodeCommit to GitHub.

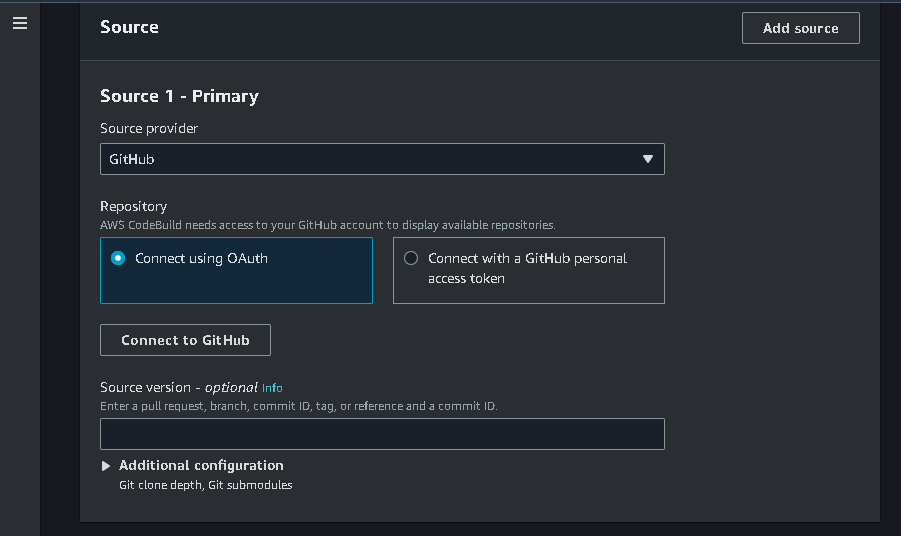
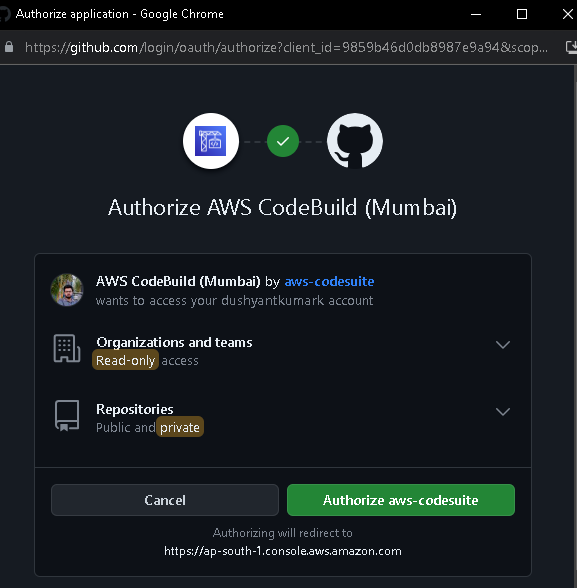
Authorize your AWS CodeBuild to access your GitHub account.

Create an environment for your code build to run the application.


You write your custom pipeline for the project.


Now your code build project is created.

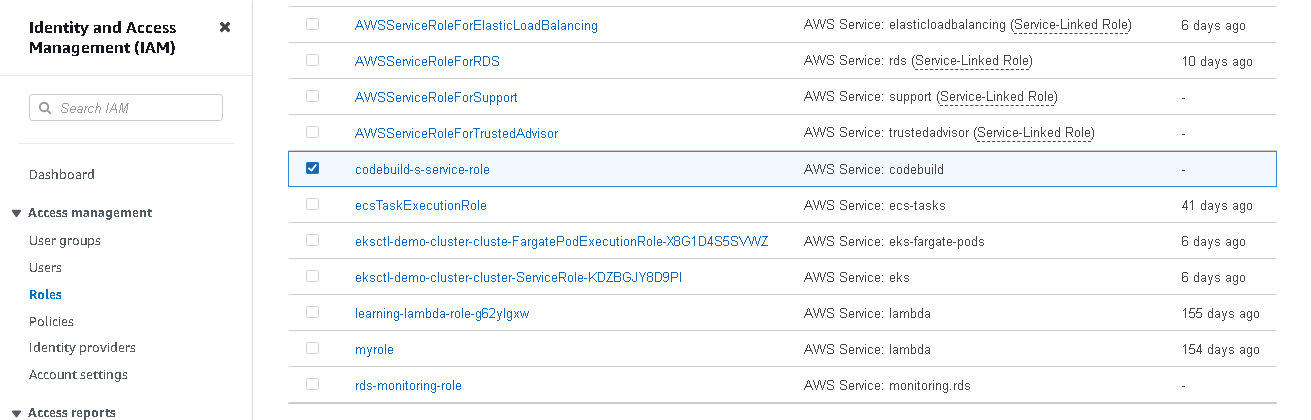
The new role is created when your code build project is created.

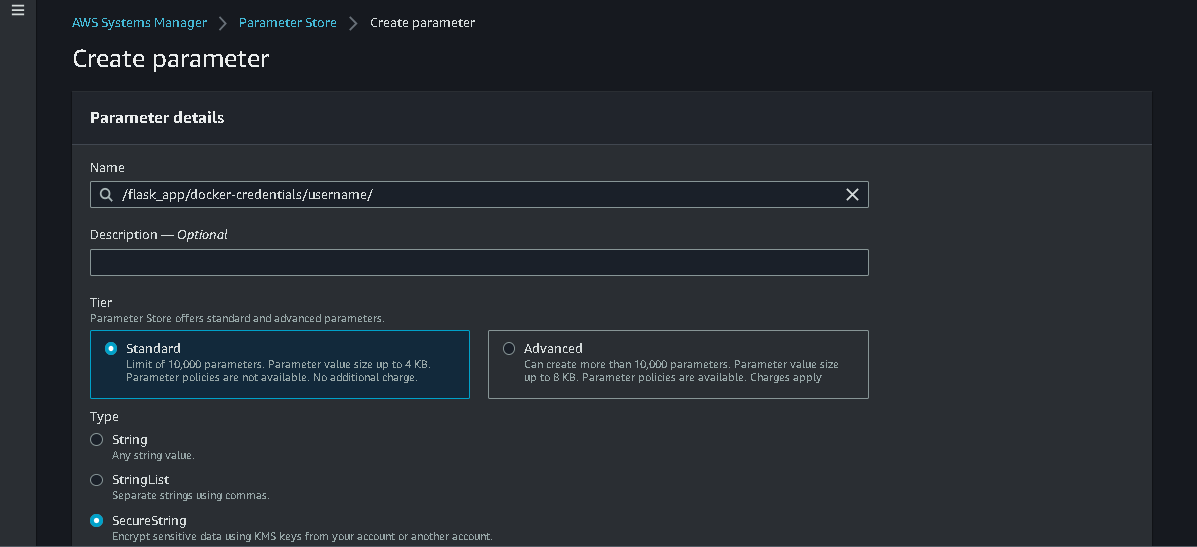
✔Step 3: AWS System Manager (Parameter Store)
Go to the AWS console and search system manager.

AWS Systems Manager simplifies cloud infrastructure management. It centralizes resource control, automates tasks, and enhances security. It offers tools for configuration management, software inventory, patching, and more, streamlining operations and ensuring consistent performance across AWS resources while maintaining a secure and compliant environment.

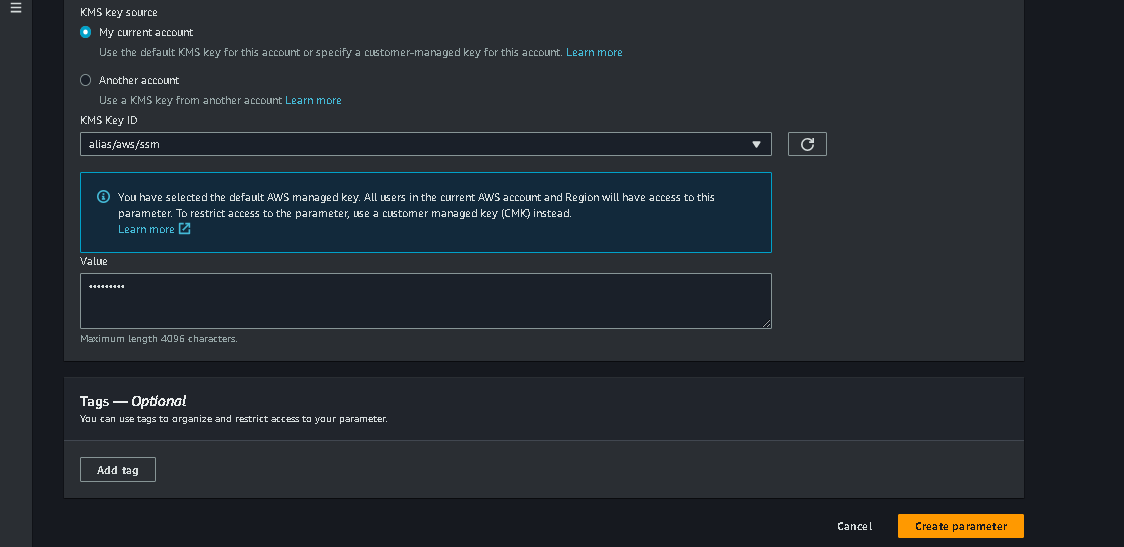
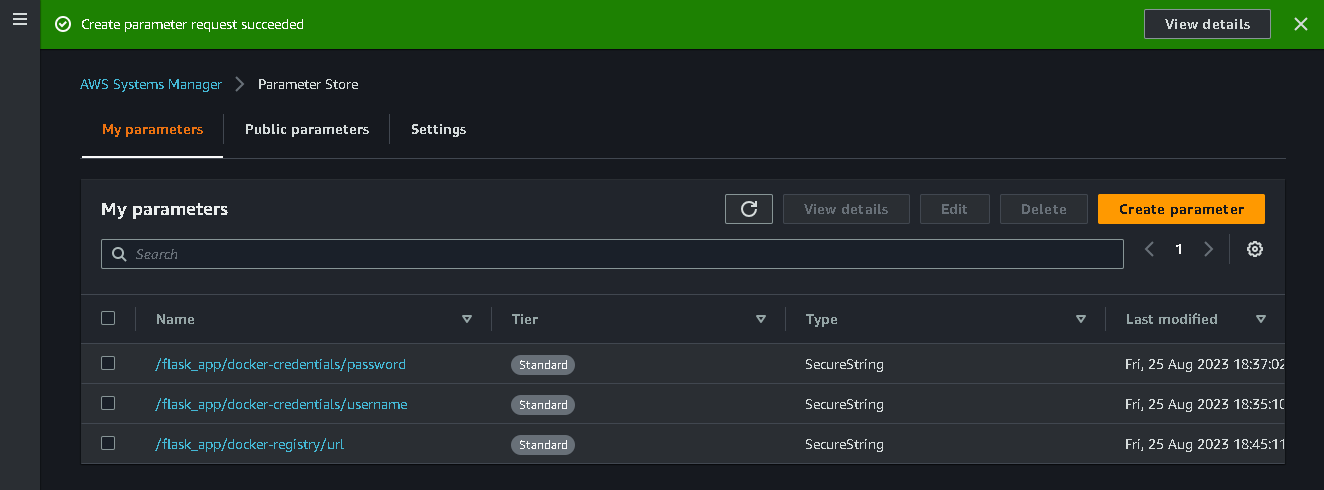
Create the first parameter for the docker username.

Create the second parameter for the docker login password.


Create the third parameter for the docker registry URL.

Environment variables (parameters) output for your "buildspec.yml" file.
✔Step 4: Start your Build
Go to build details and modify insert build commands.

Modify your build commands for your project.

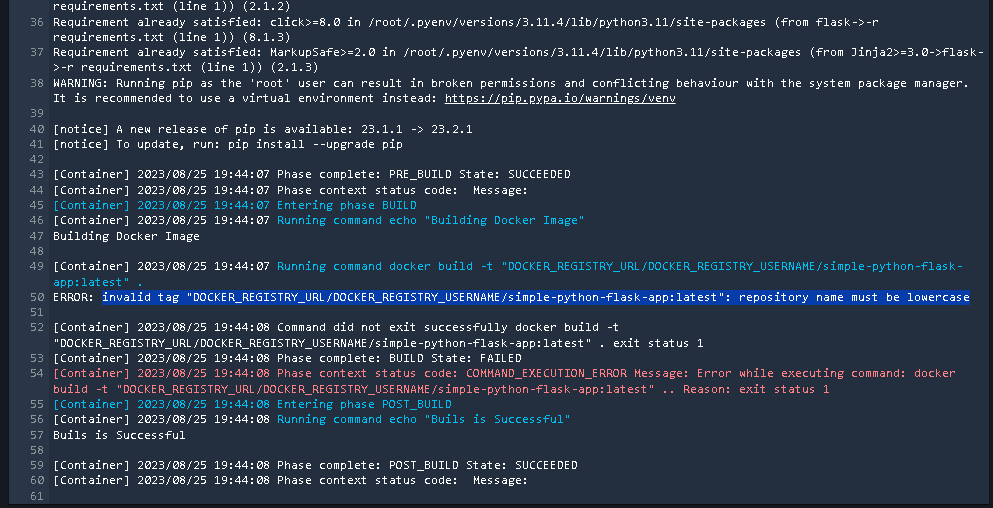
Checking Build logs, the reason for failure.

Go to IAM roles "codebuild-s-service-role" and attach the new policy "AmazonSSMFullAccess".


After the pipeline starts, we get another error and now checking build logs.

Modify your build commands(buildspec) for your project.

After the pipeline starts, we get another error and now checking build logs.

Edit the environment to give privileged permission to perform the docker build image and provide the service role "codebuild-s-service-role".


🔥 Here we get a main error, Always remember your GitHub repository must be in lowercase (uppercase English alphabets not allowed)
✔Step 5: Updating GitHub repository name
Edit my repository name from uppercase to lowercase.

✔Step 6: Modifying Build Project (CODE BUILD)
Modify a project configuration, you define every detail regarding the project.
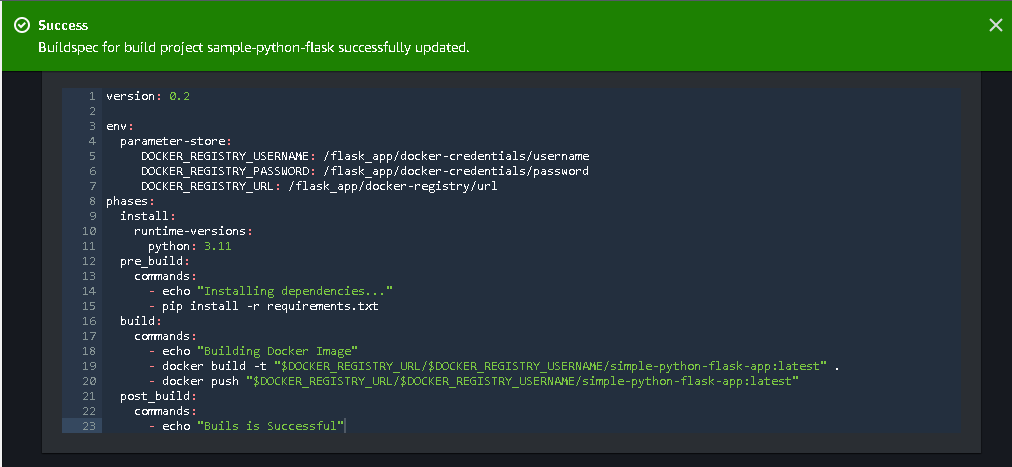
Modify your build commands(buildspec file) for your project.
After the pipeline starts, we get another error and now checking build logs.

Again modify your build commands(buildspec file) for your project. Updating for docker login and pushing.

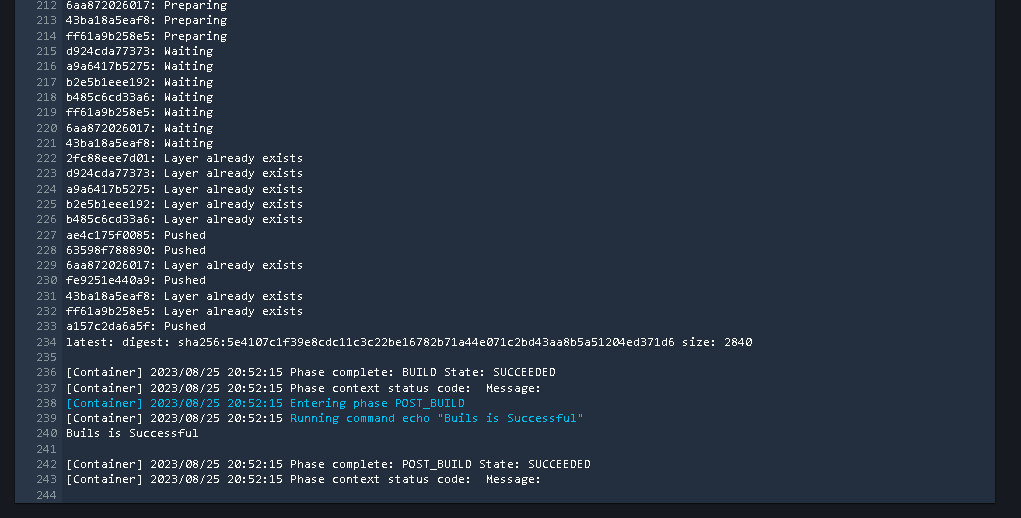
Finally, Build Succeeded.🤖

Build Logs
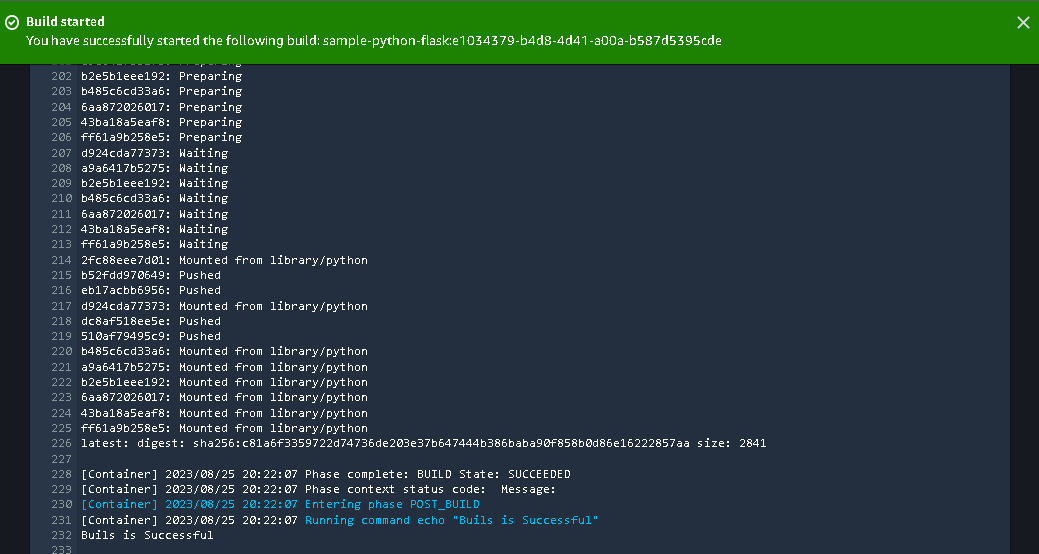
Successfully pushed docker image to Docker Hub.

🔱TASK 3: Integrate Code Build with Code Pipeline
✔Step 1: Search Code Pipeline in the AWS console

✔Step 2: Create a Code Pipeline

✔Step 3: Configure Pipeline Settings
Give a proper/suitable pipeline name and, a new service role for your code pipeline.

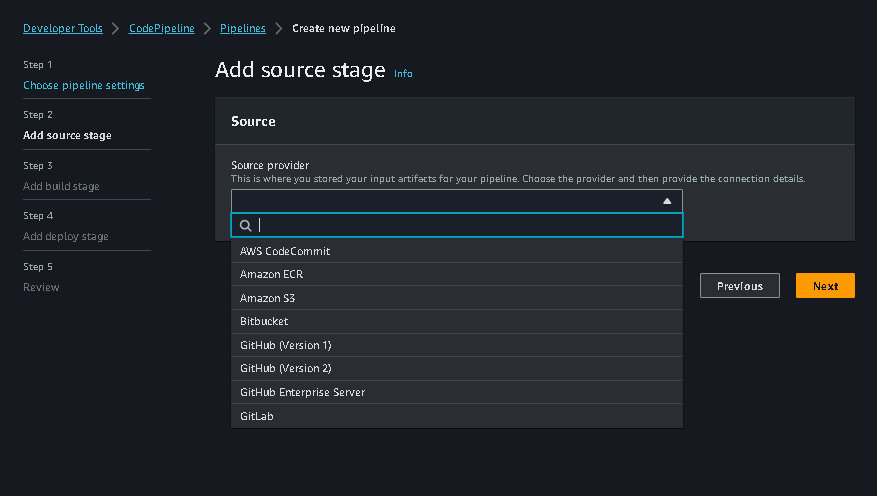
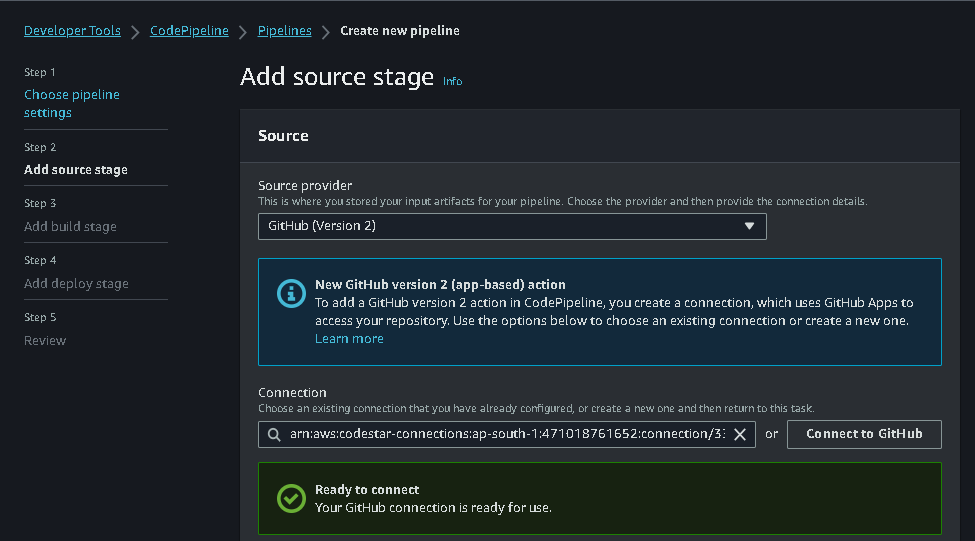
Add new source name "GitHub (Version 2)" this is a place where you store your input artifact.
Now establish a connection with Github.


Add your GitHub repository name with the branch name.

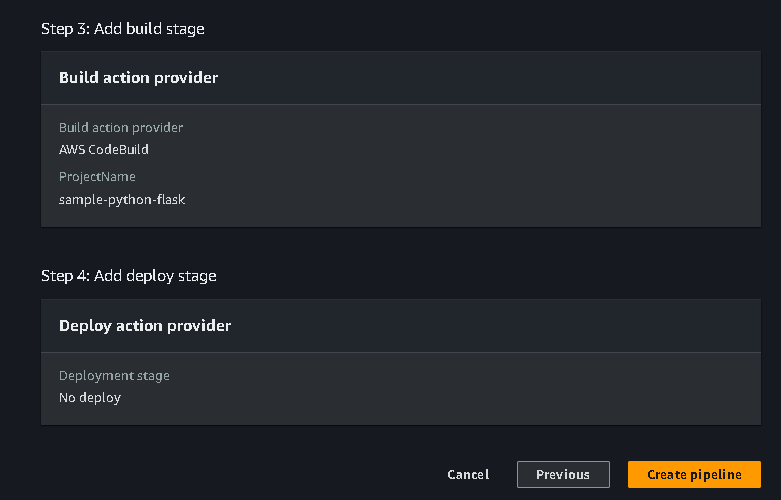
Select your build stage "AWS CodeBuild", region and project name.


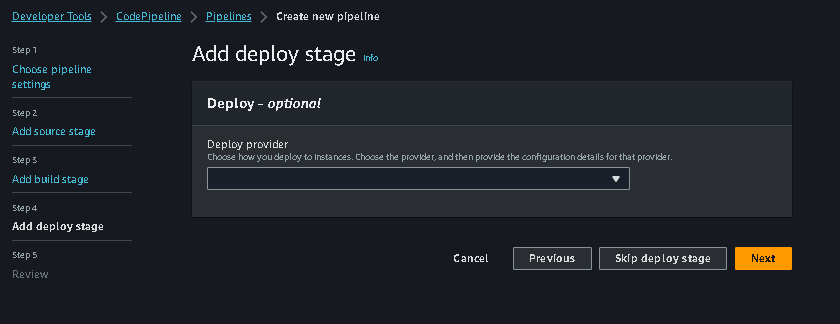
Skip the deployment stage, I am including this stage in the code deploy blog (upcoming blog)


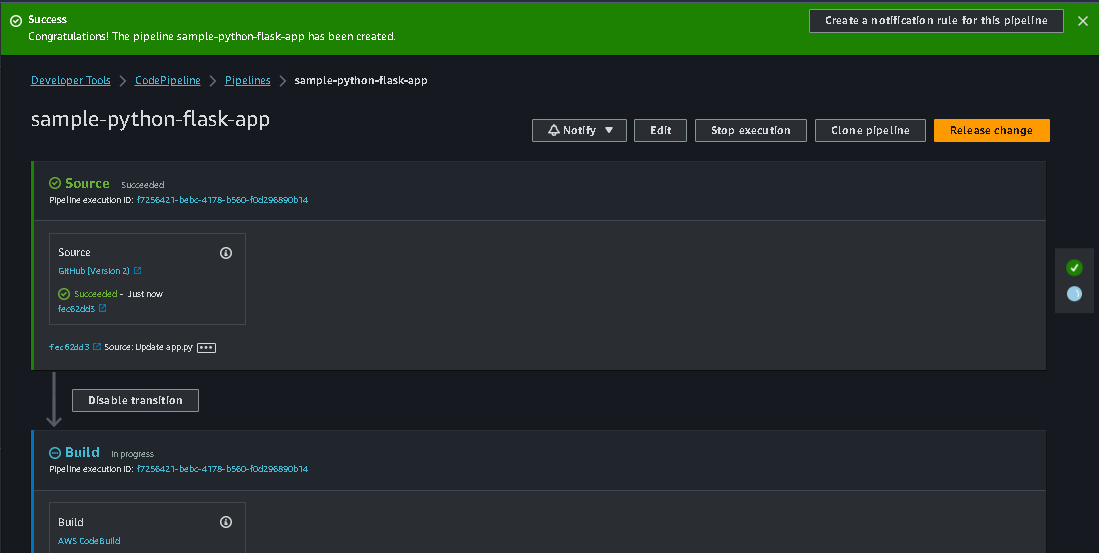
The pipeline starts automatically after creating the pipeline.


🔱TASK 4: Updating Code in Git Hub & Pipeline Trigger Automatically
✔Step 1: Modify your code
Before updating the code.
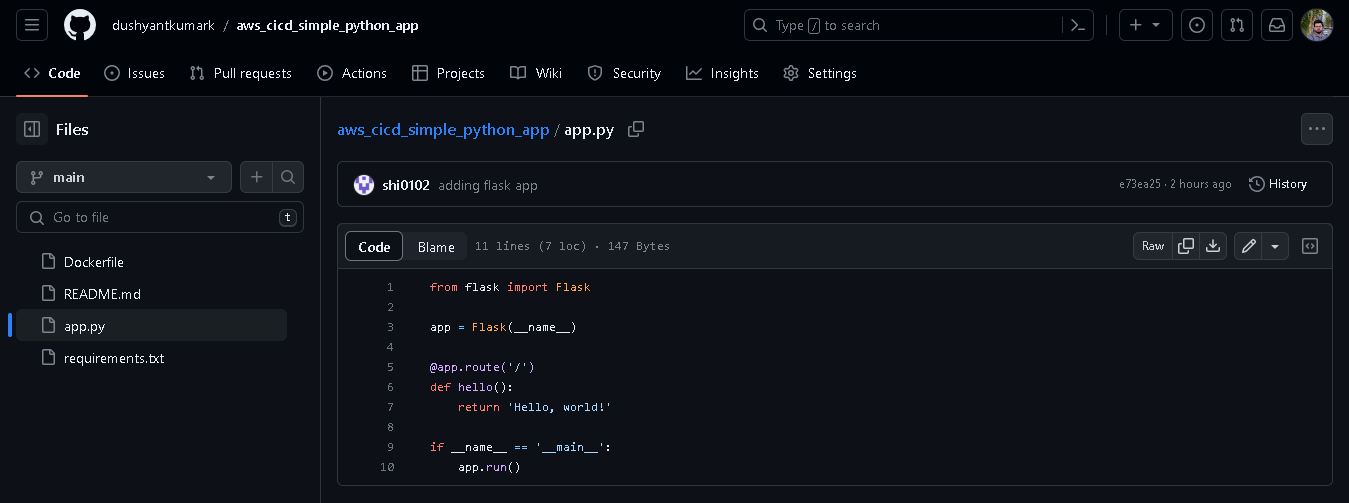
After updating the code.

✔Step 2: Your pipeline and build details after successful
The pipeline starts automatically.

Pipeline build logs.
Code build phase details.

Code build project run details.

Updated Docker Image

\...................................................................................................................................................
The above information is up to my understanding. Suggestions are always welcome. Thanks for reading this article.😊
#aws #cloudcomputing #codecommit #github #git #Devops #TrainWithShubham #90daysofdevops #happylearning
Follow for many such contents:
LinkedIn: linkedin.com/in/dushyant-kumar-dk
Blog: dushyantkumark.hashnode.dev
Github: https://github.com/dushyantkumark/aws_cicd_simple_python_app.git


