Episode 3 : Setup K8S Kubeadm Cluster

Kubernetes is an open-source container orchestration tool. The name Kubernetes originates from Greek, meaning helmsman or pilot. K8s as an abbreviation results from counting the eight letters between the “K” and the “s”. Google open-sourced the Kubernetes project in 2014.
🌟 Kubernetes Architecture
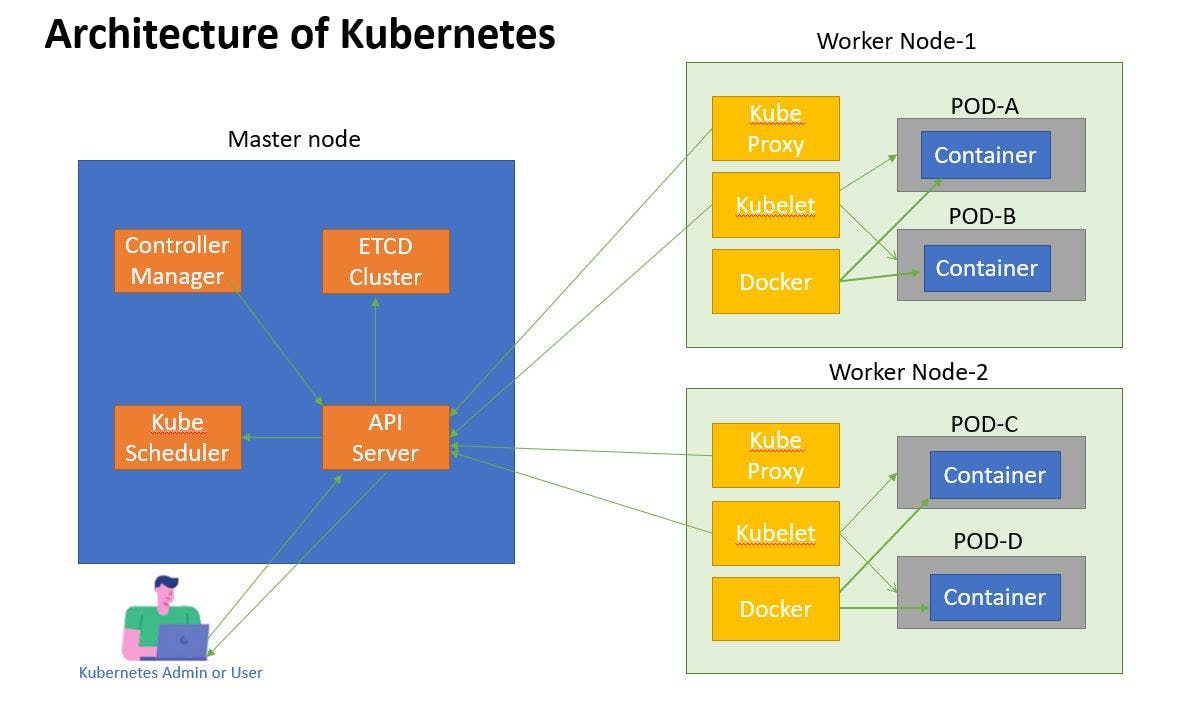
📌 Kubernetes Components
📍 Master Components:
The master components are responsible for managing the overall Kubernetes cluster. They include:
Kubernetes API Server: The API server is the central control plane of the Kubernetes cluster. It provides a RESTful interface for communication with other components of the cluster.
Etcd: etcd is a distributed key-value store that is used to store the configuration data and the state of the Kubernetes cluster.
Kube-Controller Manager: The controller manager is responsible for managing the various controllers that are responsible for maintaining the desired state of the cluster.
Kube-Scheduler: The scheduler is responsible for scheduling the containerized workloads to the worker nodes.
📍 Worker Node Components:
The node components are responsible for running the containerized workloads. They include:
Kubelet: The kubelet is responsible for managing the containerized workloads on a node. It communicates with the API server to receive instructions on how to manage the containers.
Container Runtime: The container runtime is responsible for running the containers on a node. It could be Docker, rkt, or any other container runtime that supports the Kubernetes Container Runtime Interface (CRI).
Kube-proxy: The kube-proxy is responsible for managing the network connectivity of the containers running on a node.
For more information follow the link below
📌 Prerequisites
Here are some prerequisites for today's setup:
AWS EC2 (Ubuntu OS)
t2.medium instance type or higher
Docker
Kubernetes
🌟 Kubeadm Installation
Kubernetes is an open-source container orchestration system that automates the deployment, scaling, and management of containerized applications. Kubeadm is a tool that makes it easy to set up a Kubernetes cluster.
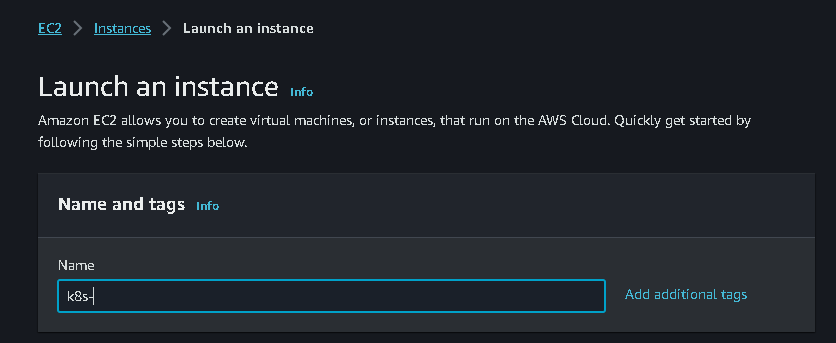
📌 Create an Ec2 instance
Log in to your AWS account with username and Password.
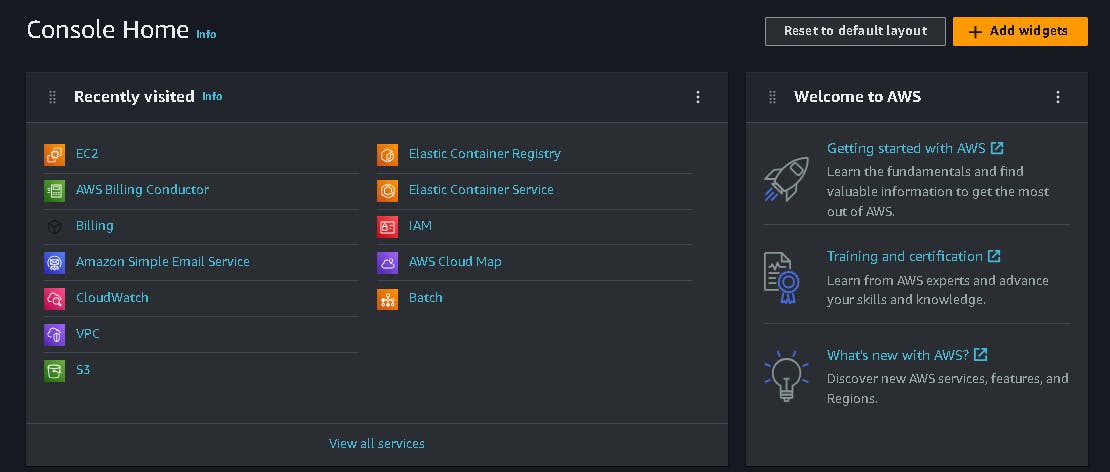
Click on the Launch instance option on the right side.

- Now give the instance name and choose the operating system image.

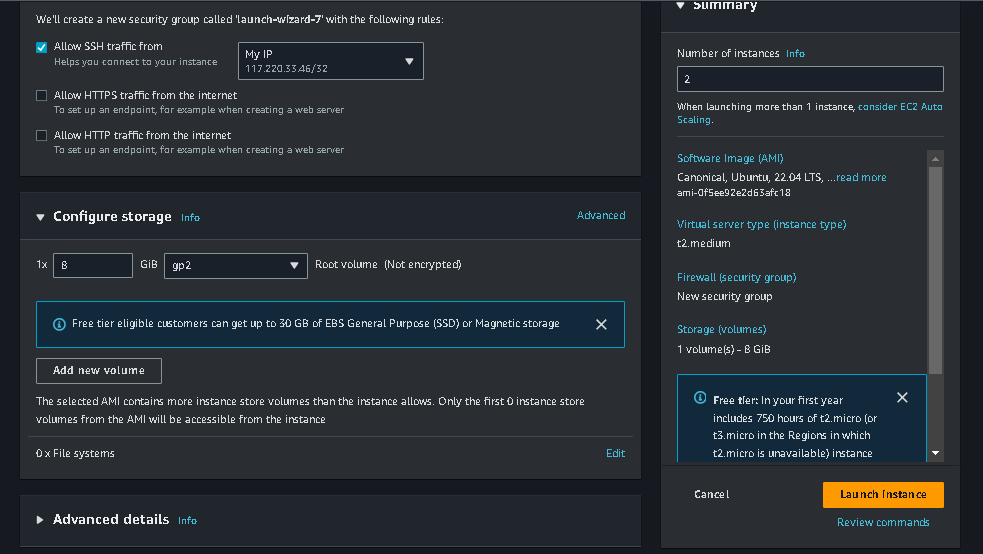
- Select the instance type (t2.micro) and create a new key pair.

- Now configure the network setting, storage and then launch your instance.

- First, edit the name of the instances and then connect your instance is in the Running Condition.

Connect your master and node k8s servers using Moba Xterm Terminal.
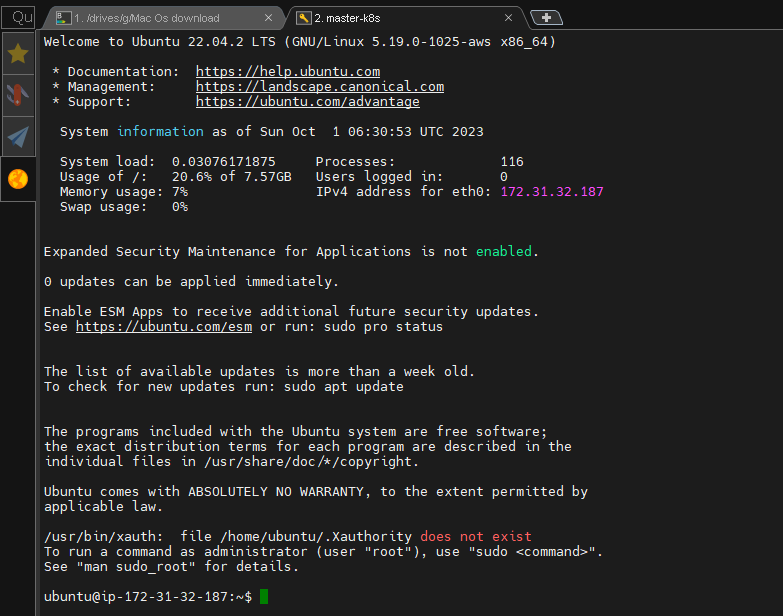
FOR MASTER

FOR NODE

📌 Install, configure and troubleshoot kubeadm
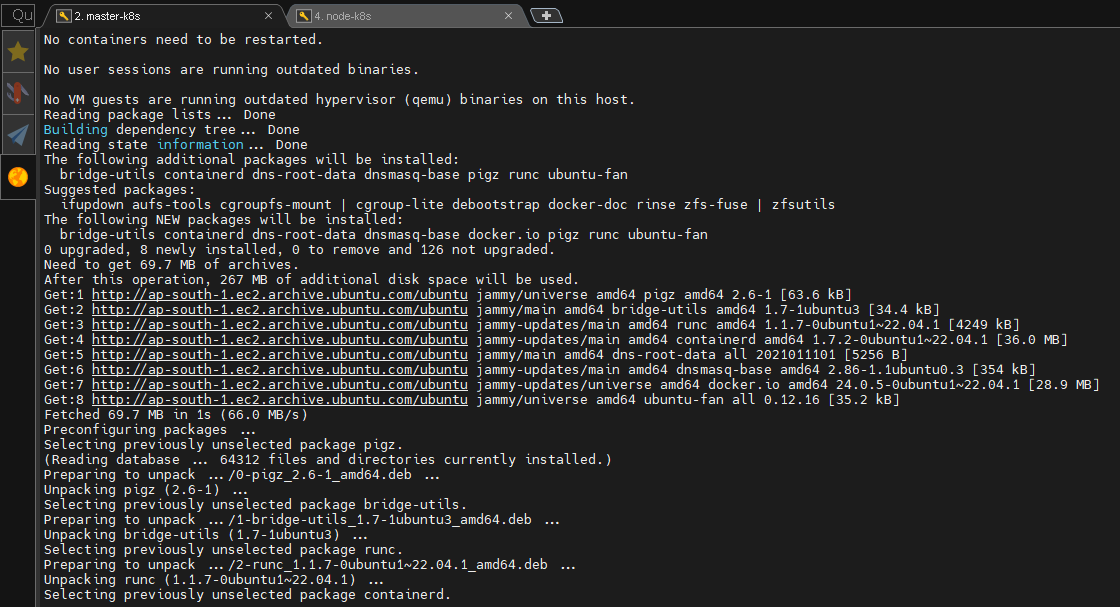
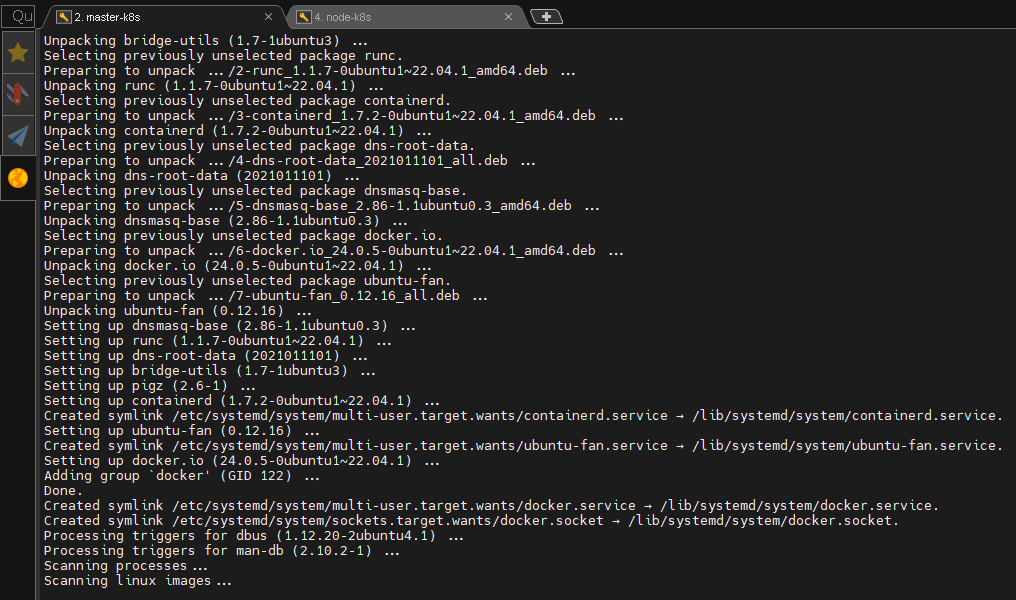
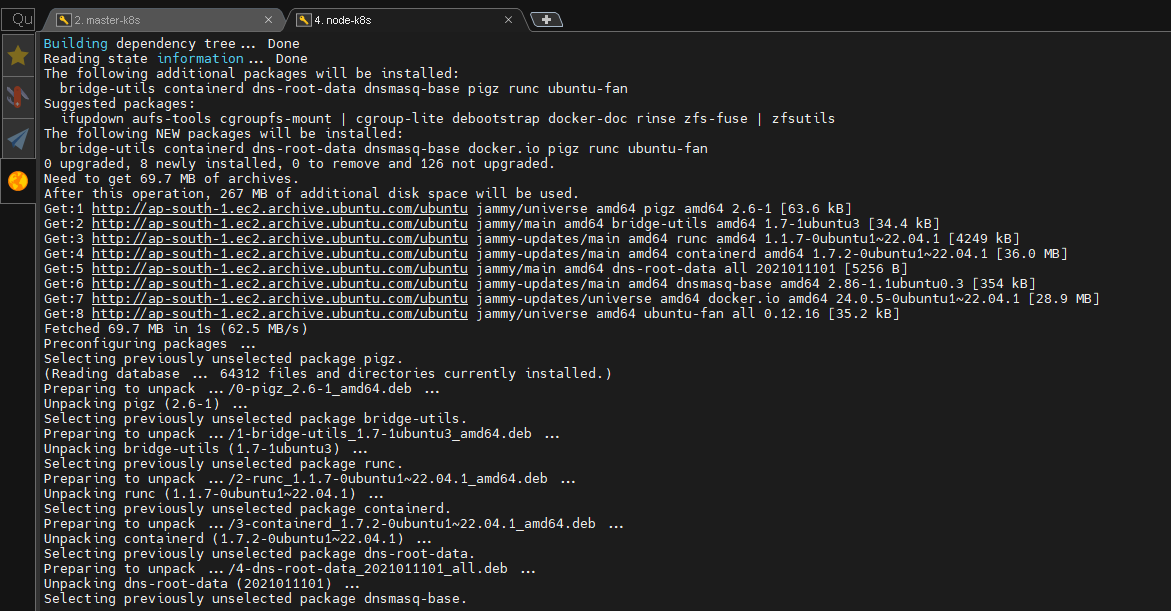
- Run the following commands on both the master (control plane) and worker nodes (data plane) to prepare them for kubeadm.
# using 'sudo su' is not a good practice.
sudo apt update
sudo apt-get install -y apt-transport-https ca-certificates curl
sudo apt install docker.io -y
sudo systemctl enable --now docker # enable and start in single command.
# Adding GPG keys.
curl -fsSL "https://packages.cloud.google.com/apt/doc/apt-key.gpg" | sudo gpg --dearmor -o /etc/apt/trusted.gpg.d/kubernetes-archive-keyring.gpg
# Add the repository to the sourcelist.
echo 'deb https://packages.cloud.google.com/apt kubernetes-xenial main' | sudo tee /etc/apt/sources.list.d/kubernetes.list
sudo apt update
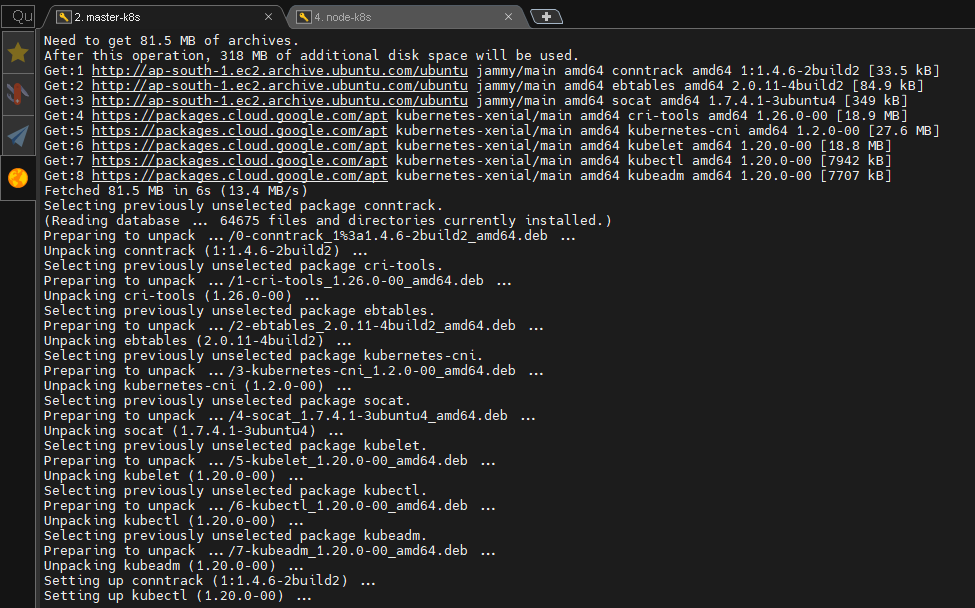
sudo apt install kubeadm=1.20.0-00 kubectl=1.20.0-00 kubelet=1.20.0-00 -y
FOR MASTER

FOR NODE


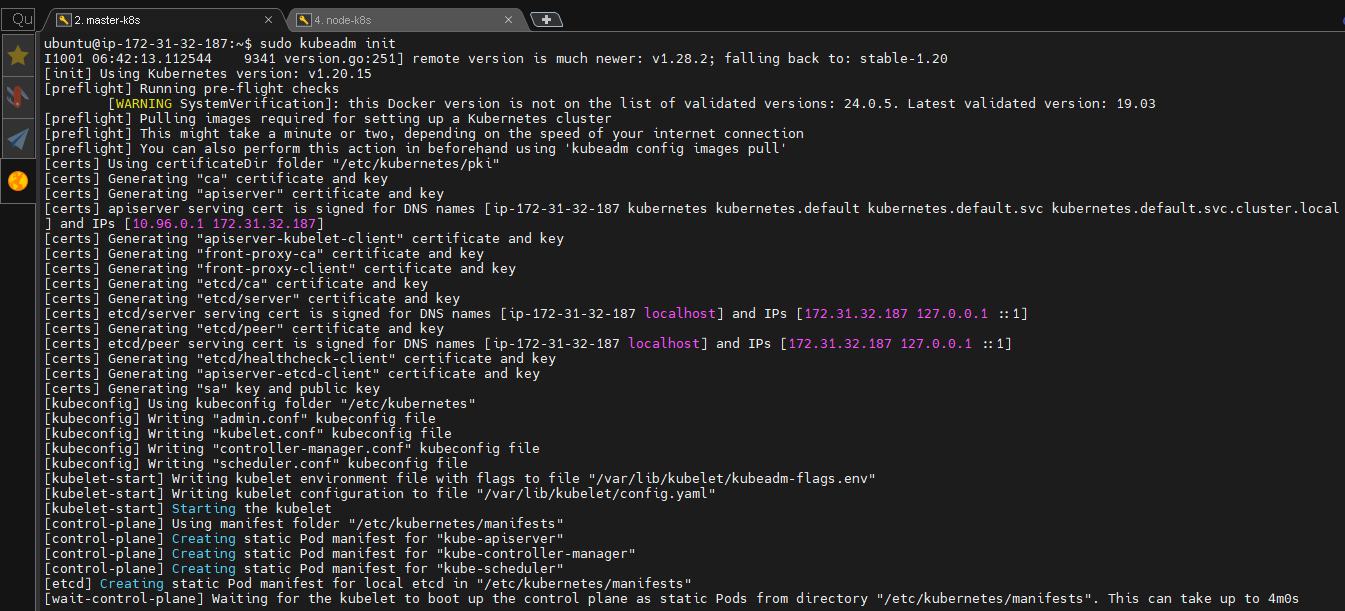
- Initialize the Kubernetes master node. [ Control Plane ]
sudo kubeadm init

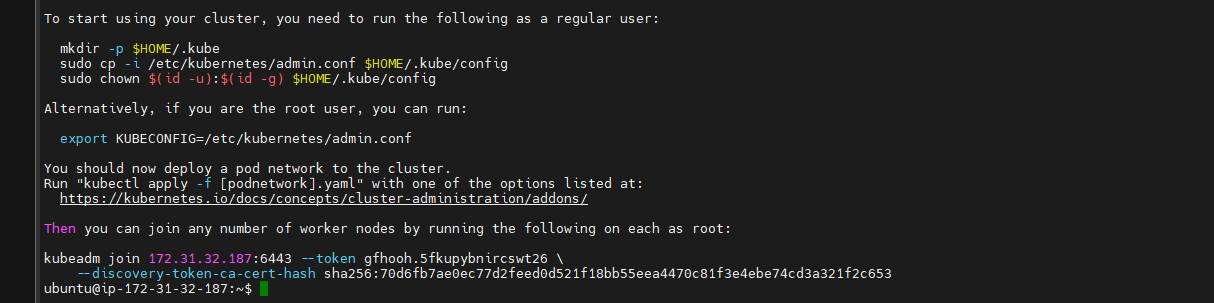
- Set up local kubeconfig (both for root user and normal user) and then apply Weave network [ Setup CNI ] for communication between master and worker nodes. [ control plane ]
mkdir -p $HOME/.kube
sudo cp -i /etc/kubernetes/admin.conf $HOME/.kube/config
sudo chown $(id -u):$(id -g) $HOME/.kube/config
kubectl apply -f https://github.com/weaveworks/weave/releases/download/v2.8.1/weave-daemonset-k8s.yaml

- Run the following commands on the worker node[ Data Plane ].
sudo kubeadm reset pre-flight checks

Generate a token for worker nodes to join [ Control Plane ]
sudo kubeadm token create --print-join-command

Paste the join command you got from the master node and append
--v=5at the end. Make sure either you are working as sudo user or usesudobefore the command [ Data Plane ]sudo kubeadm join 172.31.37.2:6443 --token 4kak5k.c8oe2vd14sl7l71n --discovery-token-ca-cert-hash sha256:8f43b88f1bdd5310f94e044de0cac937e40f3a2b792e8e87a84472dd45f8925e --v=5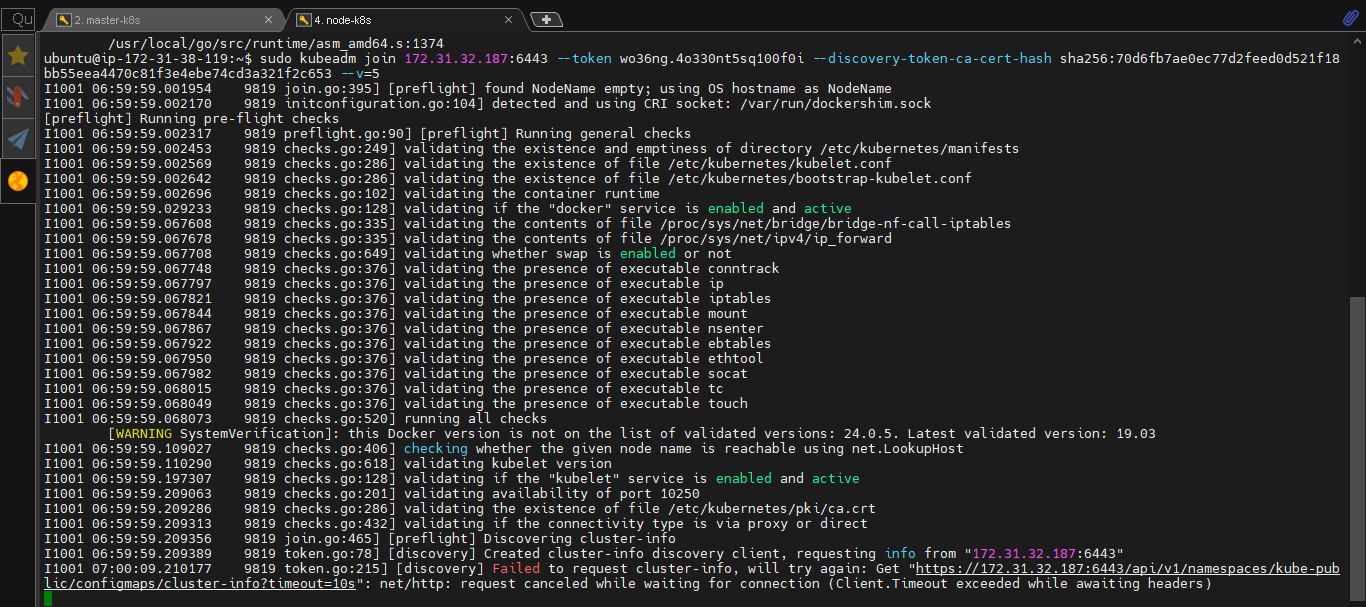
Edit the Inbound Security Rule. Enable Port 6443 on K8s-master [ control plane ]
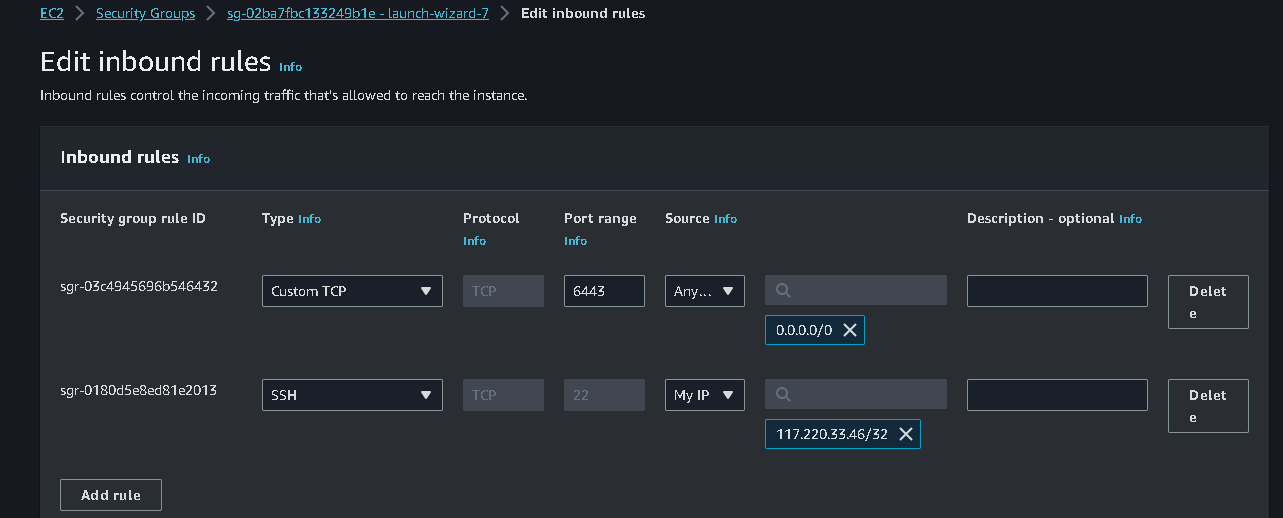
After adding port 6443 in k8s-master now node joins the cluster [ data plane ]

Verify the cluster using kubectl commands. [ control plane ]
  kubectl get pods
  kubectl get namespaces
  kubectl get nodes
  kubectl get all
  sudo docker ps


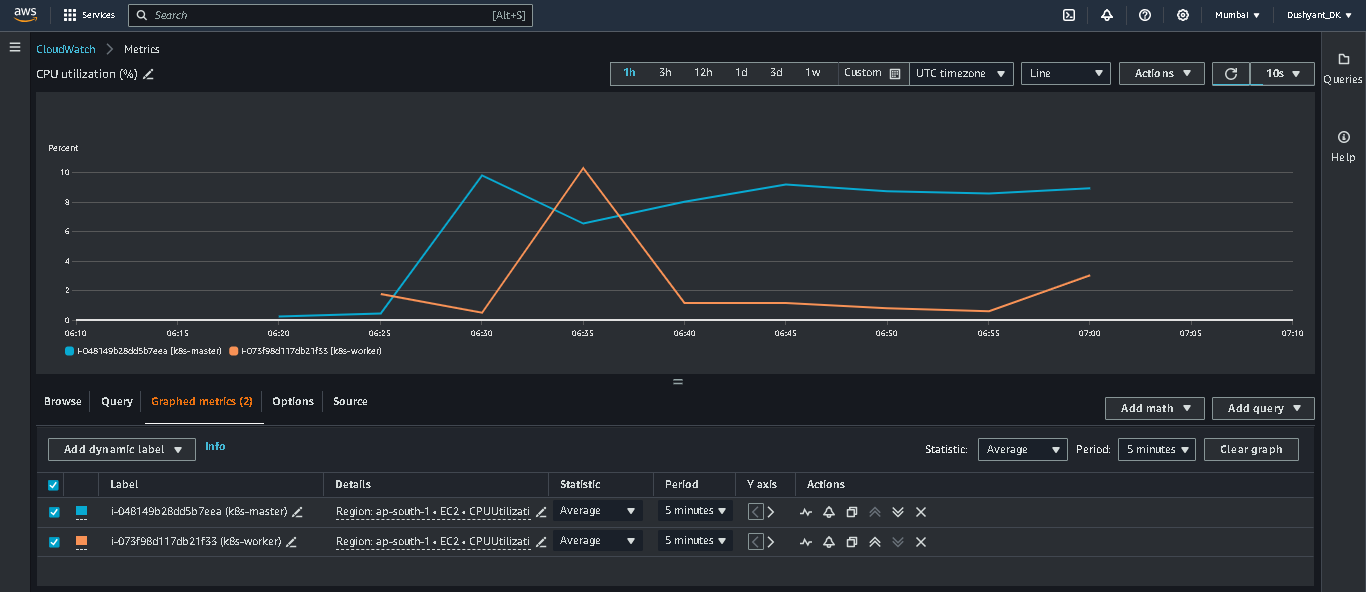
Monitor your cluster using Cloudwatch.
\...................................................................................................................................................
The above information is up to my understanding. Suggestions are always welcome. Thanks for reading this article.😊
#aws #cloudcomputing #docker #Devops #TrainWithShubham #90daysofdevopsc #happylearning
Follow for many such contents:
LinkedIn: linkedin.com/in/dushyant-kumar-dk
Blog: dushyantkumark.hashnode.dev
GitHub: https://github.com/dushyantkumark/two-tier-flask-app.git


