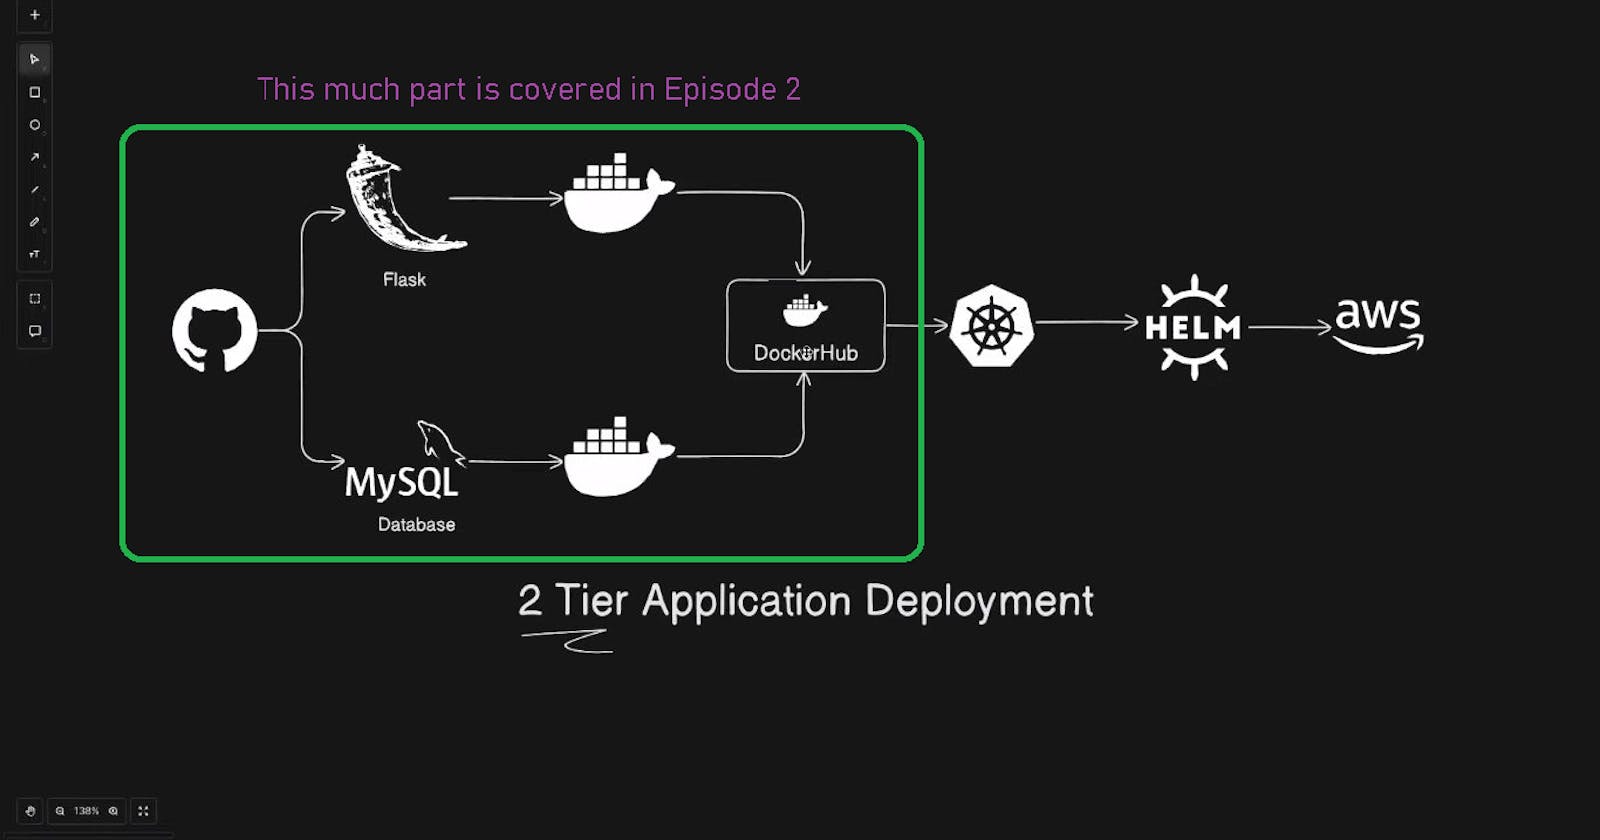


Hello, learners in today's topic we will deploy a 2-Tier Application Deployment with the Help of Various DevOps Tools.
📌 Prerequisites
Here are some prerequisites for this project are given below:
AWS EC2
Git & GitHub
Docker
DockerHub
📌 Create an Ec2 instance
Log in to your AWS account with username and Password.
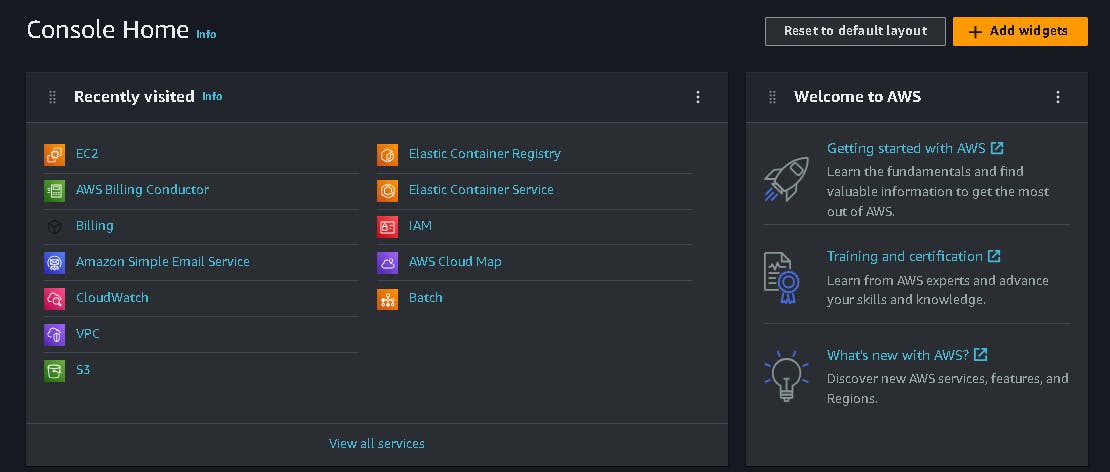
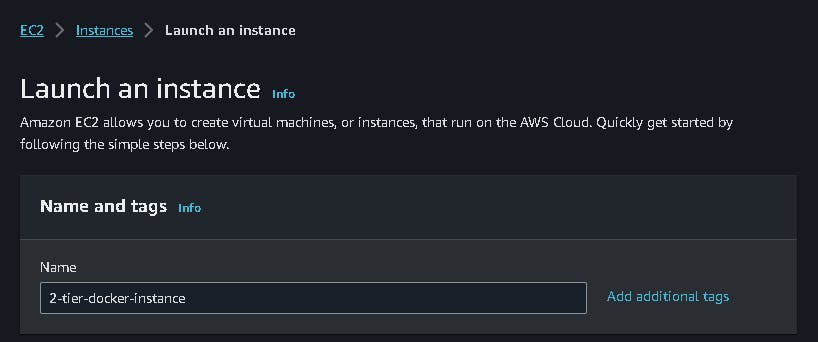
Click on the Launch instance option on the right side.

- Now give the instance name and choose operating system image.

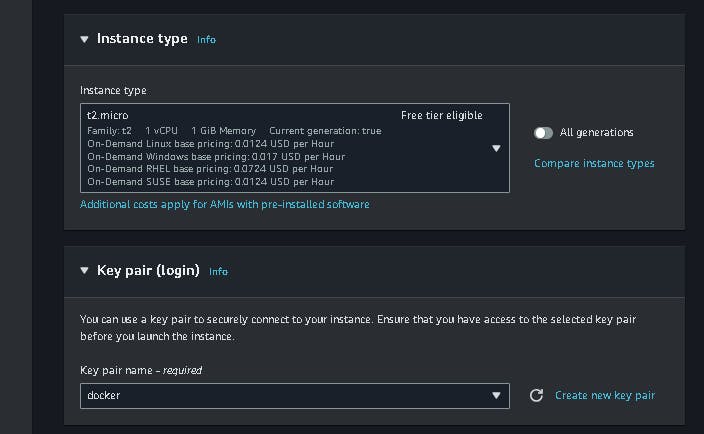
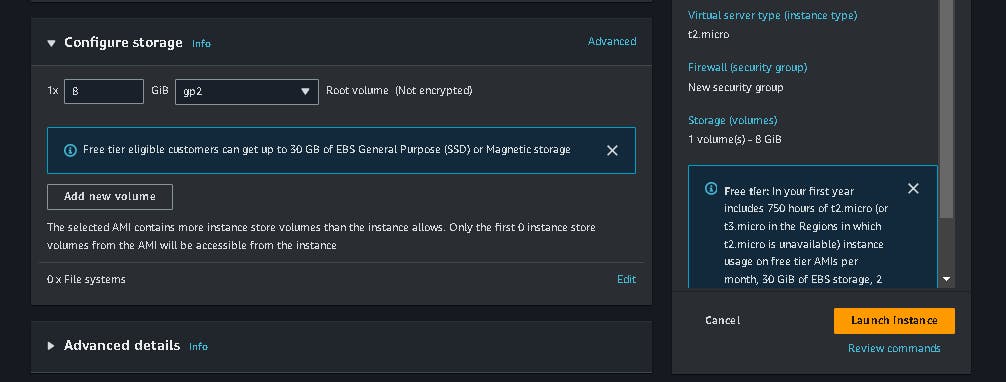
- Select the instance type (t2.micro) and create a new key pair.
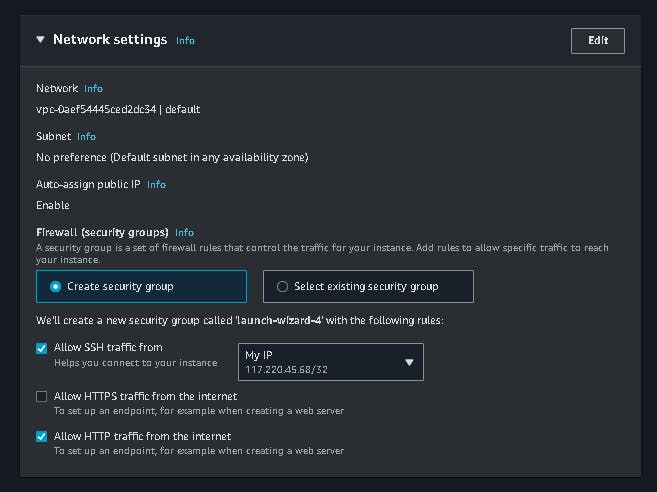
- Now configure the network setting, storage and then launch your instance.
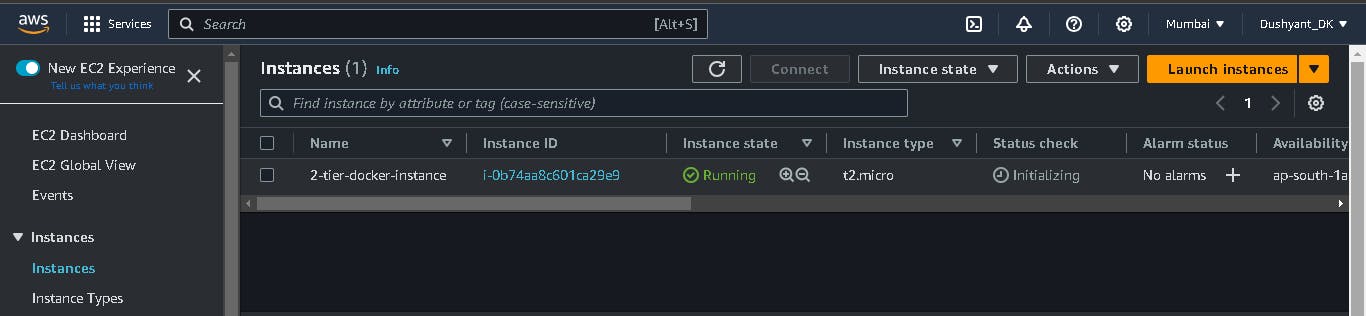
- Now click on the Connect Button when your instance is in the Running Condition.
📌 Installing, configuring and troubleshooting the application
First, ssh your instance then run the following command for the Package update and Docker Installation.
  ssh -i "docker.pem" ubuntu@<public_dns>
  or
  ssh -i <"key_name"> <user_name>@<public-ip>
sudo apt-get update -y ; sudo apt install docker.io -y
Run the following command for the Package update and Docker Installation.
Troubleshoot the docker permission denied problem.

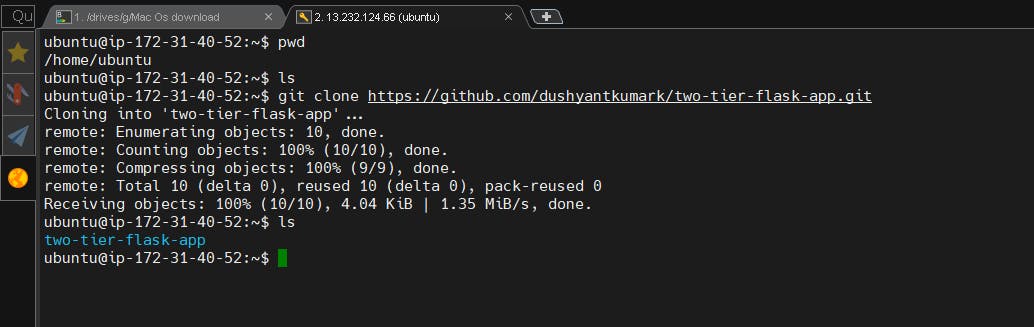
Clone the Repository from the git hub, copy the SSH and paste it into the terminal here is the command.
https://github.com/dushyantkumark/two-tier-flask-app.git
- Write a Docker for the Python installation and Mysql Client.
# Use an official Python runtime as the base image
FROM python:3.9-slim

# Set the working directory in the container
WORKDIR /app

# install required packages for system
RUN apt-get update \
    && apt-get upgrade -y \
    && apt-get install -y gcc default-libmysqlclient-dev pkg-config \
    && rm -rf /var/lib/apt/lists/*

# Copy the requirements file into the container
COPY requirements.txt .

# Install app dependencies
RUN pip install mysqlclient
RUN pip install --no-cache-dir -r requirements.txt

# Copy the rest of the application code
COPY . .

# Specify the command to run your application
CMD ["python", "app.py"]
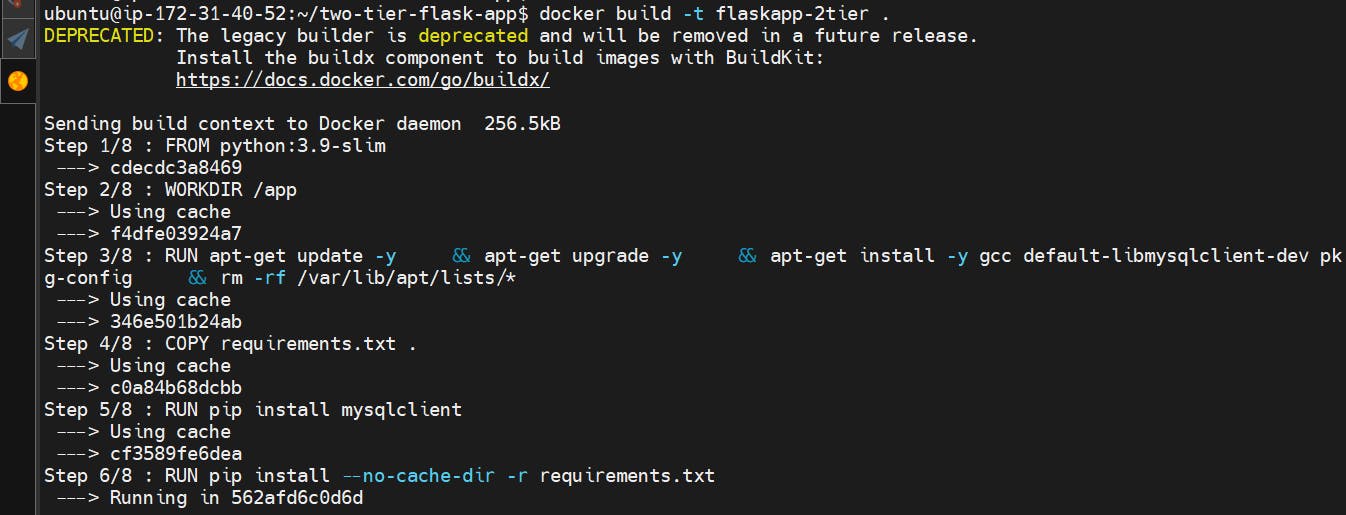
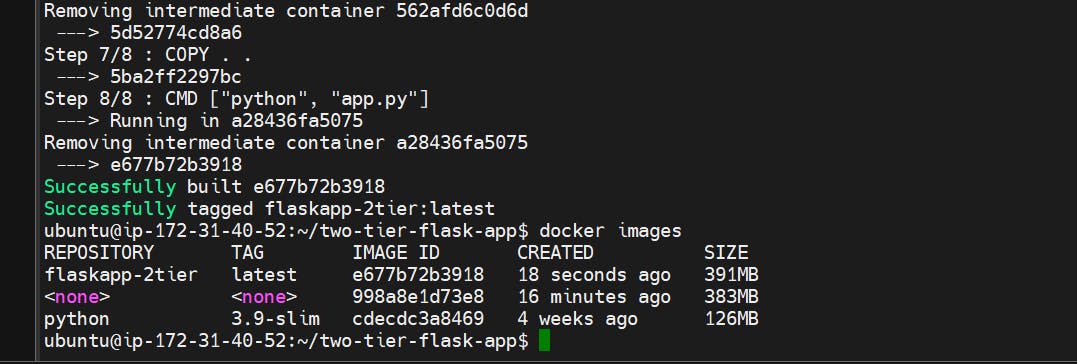
- After Writing the Docker file Now build it with the following commands it includes 1/8 Steps which I have Mentioned in the Screenshot.
docker build -t flaskapp-2tier .
docker images
- Now Run the docker Container with the help of Docker images with Port Number with the help of the Below command.
docker run -d -p 5000:5000 flaskapp-2tier:latest
docker ps

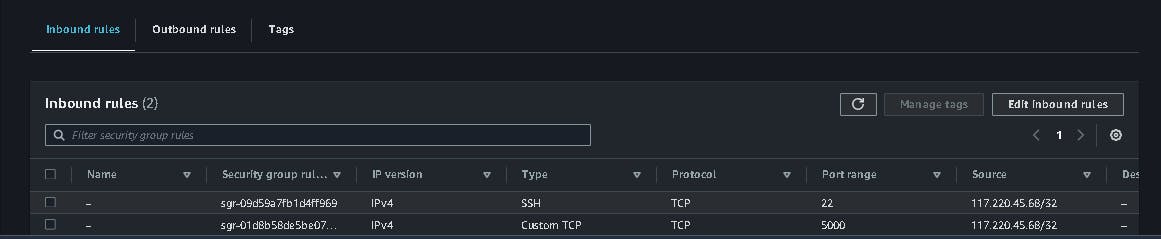
- Now open the Port in our Security Groups for Incoming Traffic and allow port no 5000.
- Now Access the app with the help of the Public IP of Ec2 Instance with port no here is the Syntax:-
http://13.232.124.66:5000
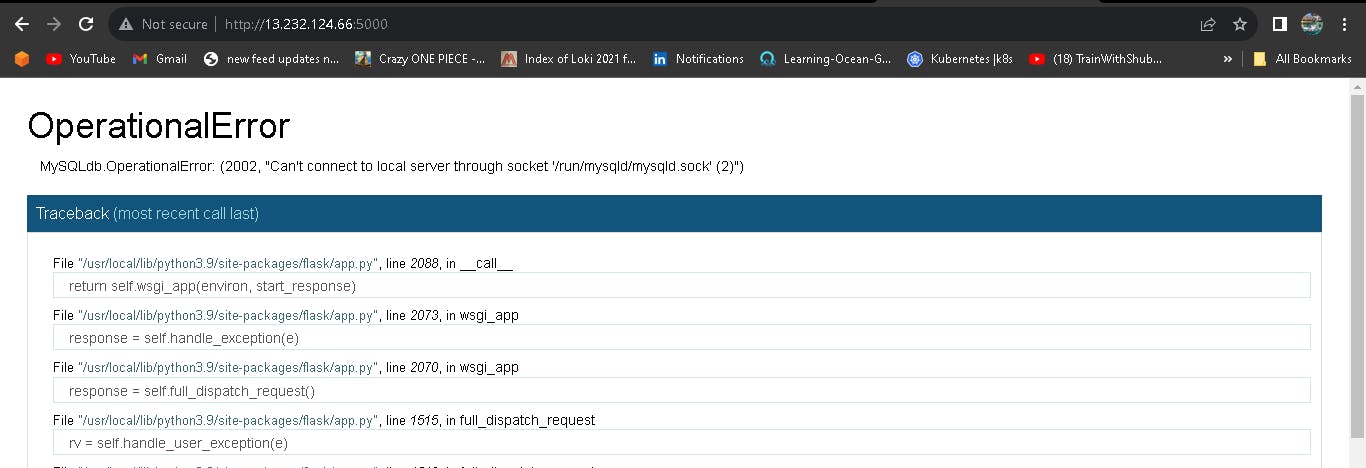
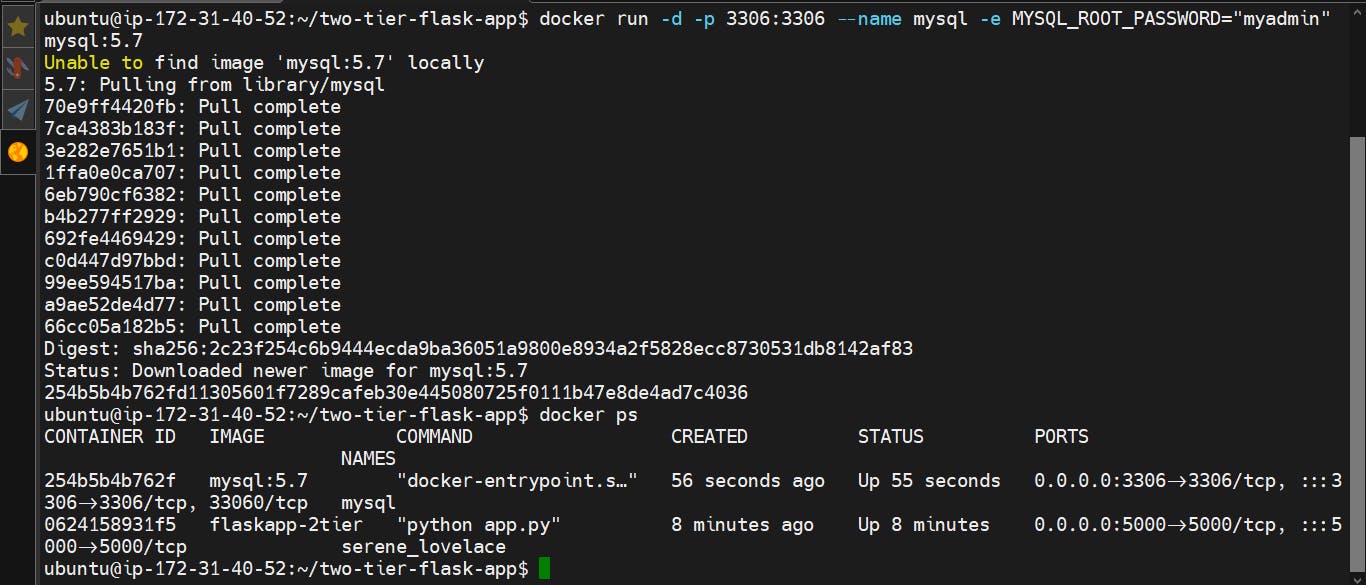
We need to create a MySQL Container.
docker run -d -p 3306:3306 --name mysql -e MYSQL_ROOT_PASSWORD="myadmin" mysql:5.7
docker ps
Now Access the app with the help of the Public IP of Ec2 Instance with port no here is the Syntax:-
http://13.232.124.66:5000
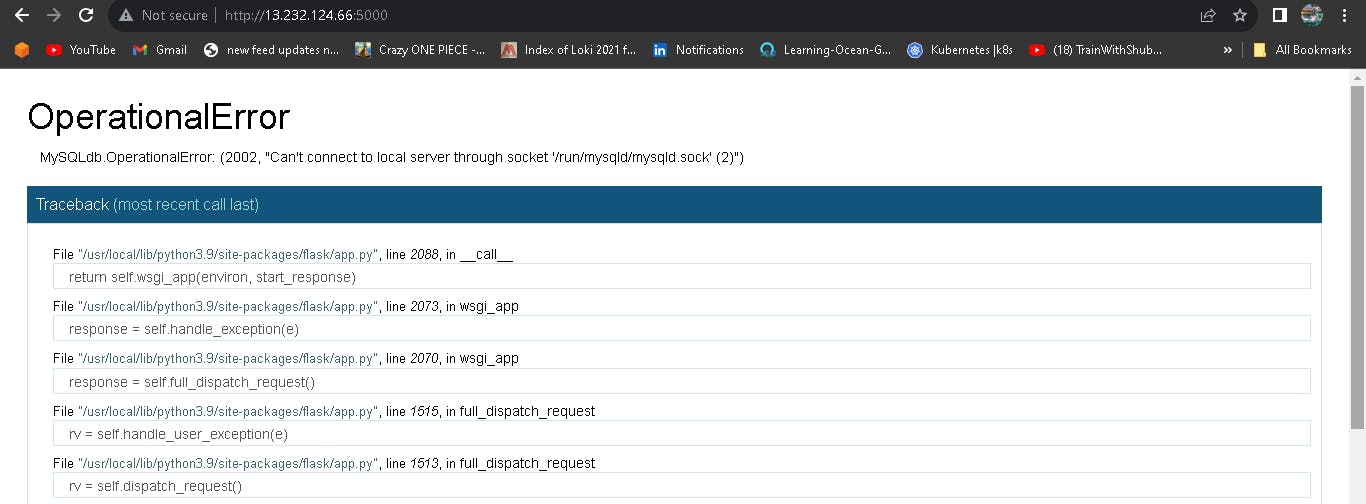
Both containers are not communicating with each other because both containers are not in the same network. To solve this problem we have to create a custom bridge network.
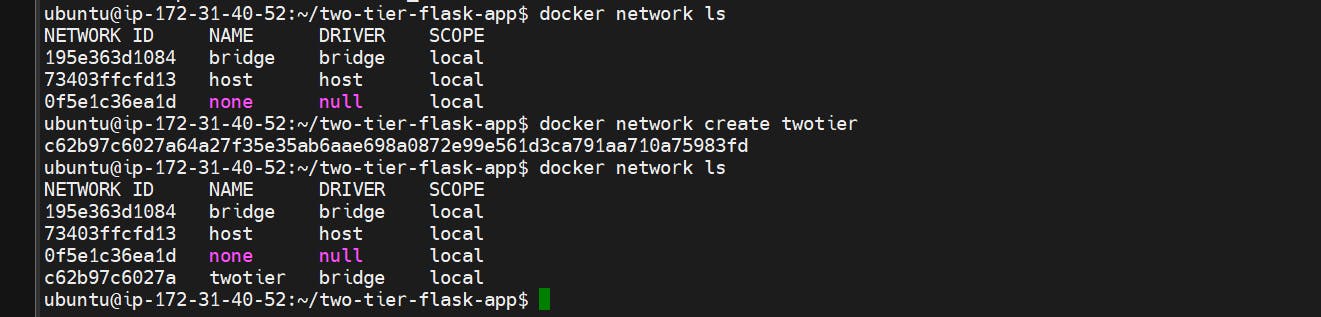
- We need to create a docker network 2tier to connect MySQL Container and MySQL Database.
docker network create twotier
docker network ls
Stop previous running containers, before creating new containers.
  docker kill <container-id-1> <container-id-2>
  docker rm <container-id-1> <container-id-2>
As per the Diagram need a MySQL Container with username and Password to use these commands to run I have to use the Environment Variable in these with -e.
sudo docker run -d -p 5000:5000 --network=twotier -e MYSQL_HOST=mysql -e MYSQL_USER=root -e MYSQL_PASSWORD=myadmin -e MYSQL_DB=myDb flaskapp-2tier:latest
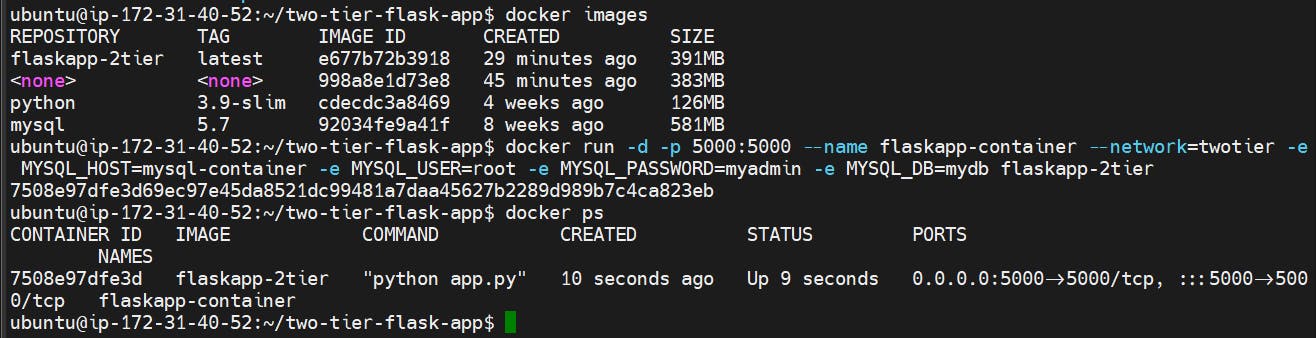
- As per the Diagram need a MySQL Database username and Password use these commands to run I have used the Environment Variable in these with -e and run the mysql image latest.
sudo docker run -d -p 3306:3306 --network=twotier -e MYSQL_DATABASE=myDb -e MYSQL_USER=admin -e MYSQL_PASSWORD=admin -e MYSQL_ROOT_PASSWORD=admin mysql:5.7
docker ps

As per the Diagram need a MySQL Database username and Password to use these commands to run I have used the Environment Variable in these with -e and run the MySQL image latest Diagram.
- Check the Network of Both Containers and Inspect both containers on the Network with the help of the below command.
docker network ls
docker network inspect twotier
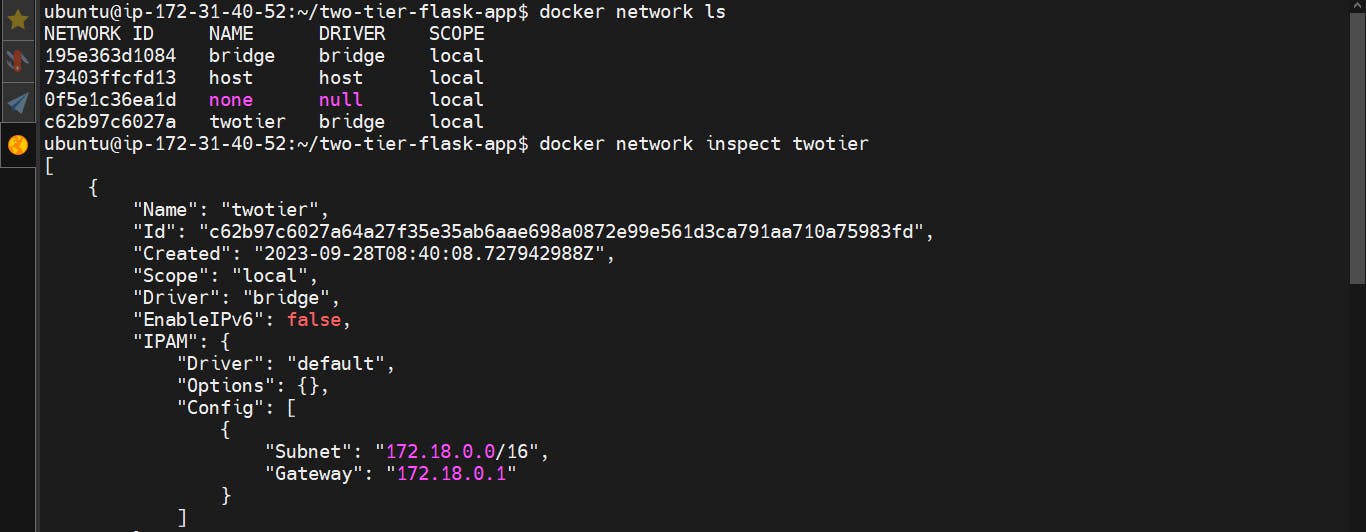

Now your MySql Container and MySql Database are connected.
http://13.232.124.66:5000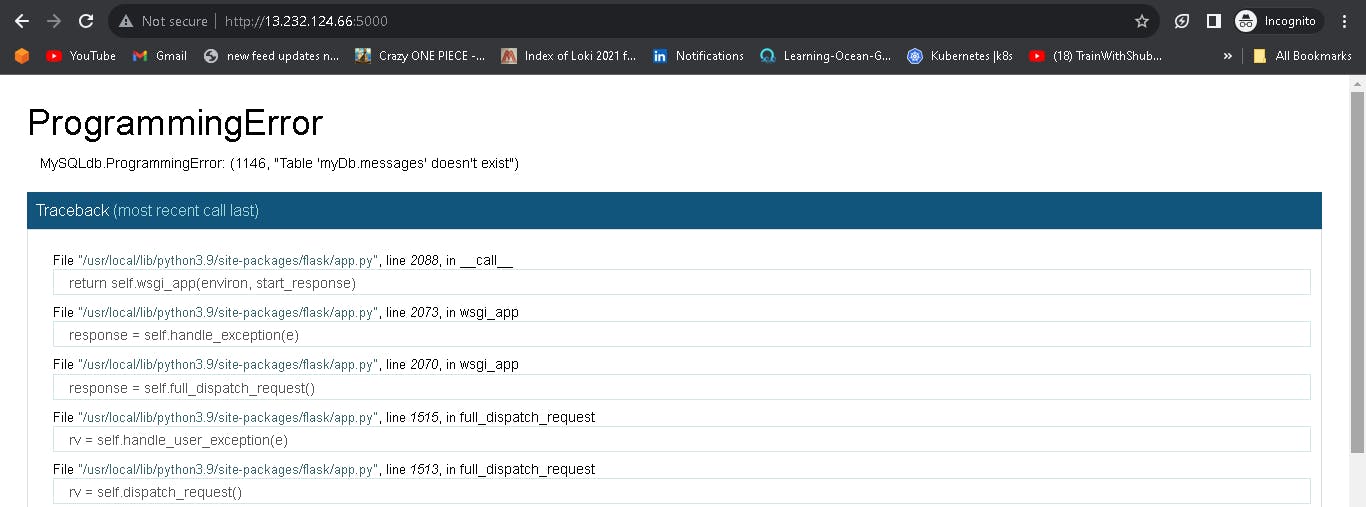
Create the Message table in your MySQL Database but before creating a table access the MySql Database and then enter in the mysql with the following commands.
sudo docker exec -it <container-id> bash
sudo mysql -u root -p
enter password

- Check the Databases, use myDb and then create a table with the help of the following commands. use the syntax directly copy and paste to your terminal.
show databases;
use myDb;

CREATE TABLE messages (
    id INT AUTO_INCREMENT PRIMARY KEY,
    message TEXT
);

- After Creating the table access your 2-Tier Flask Deployment App on your browser: with the help of the following syntax:
http://<ec2-instance-public-ip>:5000
http://13.232.124.66:5000
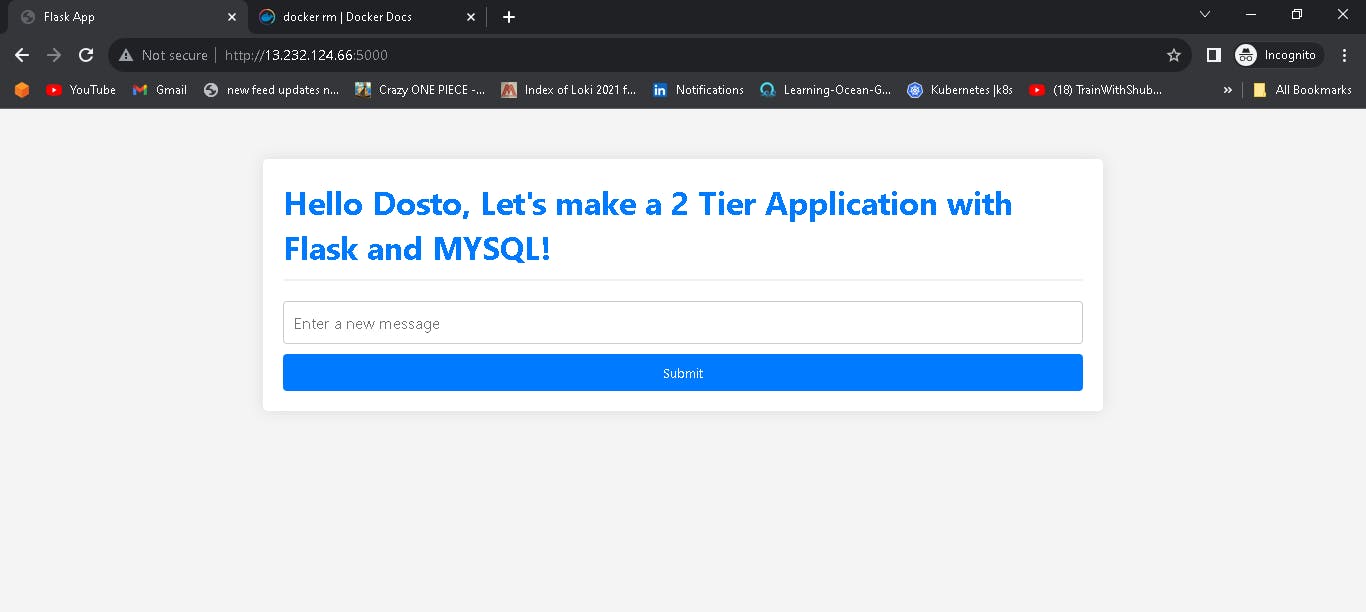
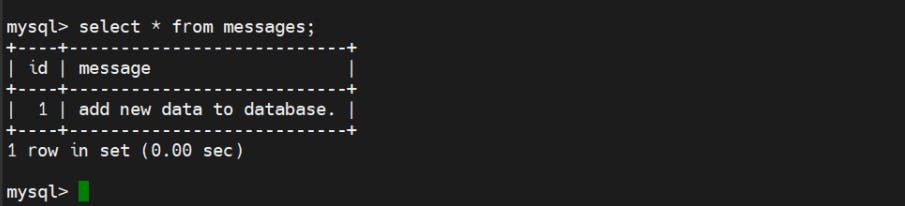
- Add some messages and submit them for testing purposes.
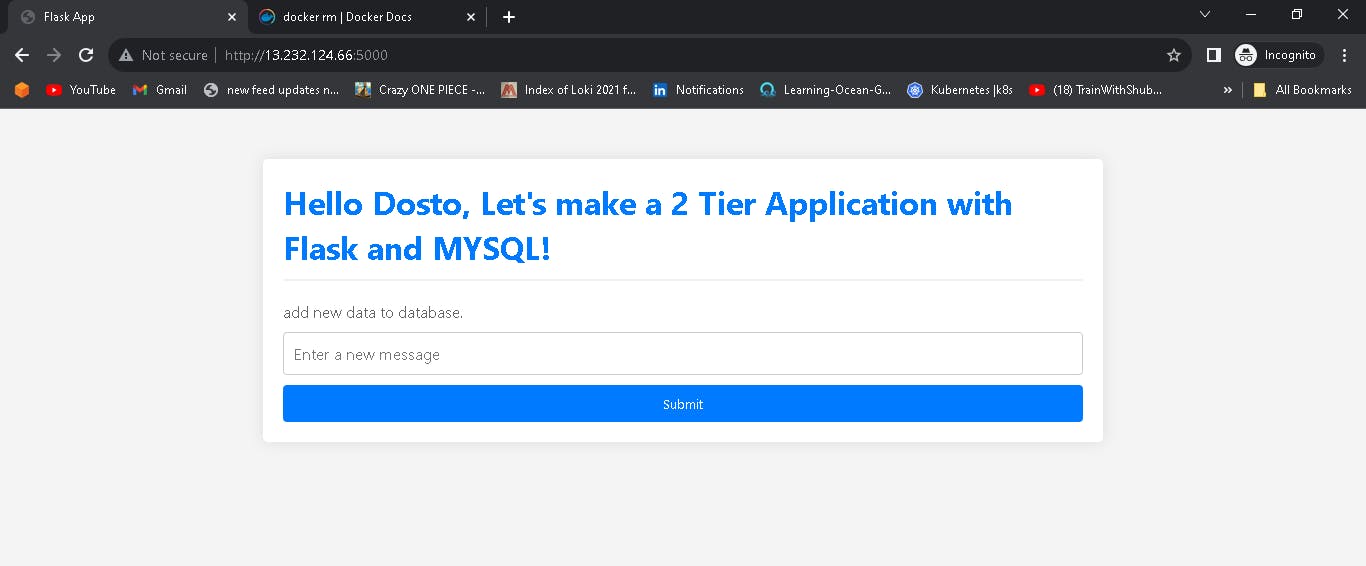
- Verify that data in the database.
📌 Push Your Docker Image To DockerHub
Login to your docker hub account.
  docker login
  Username: <dockerhub_username>
  Password: <dockerhub_password>

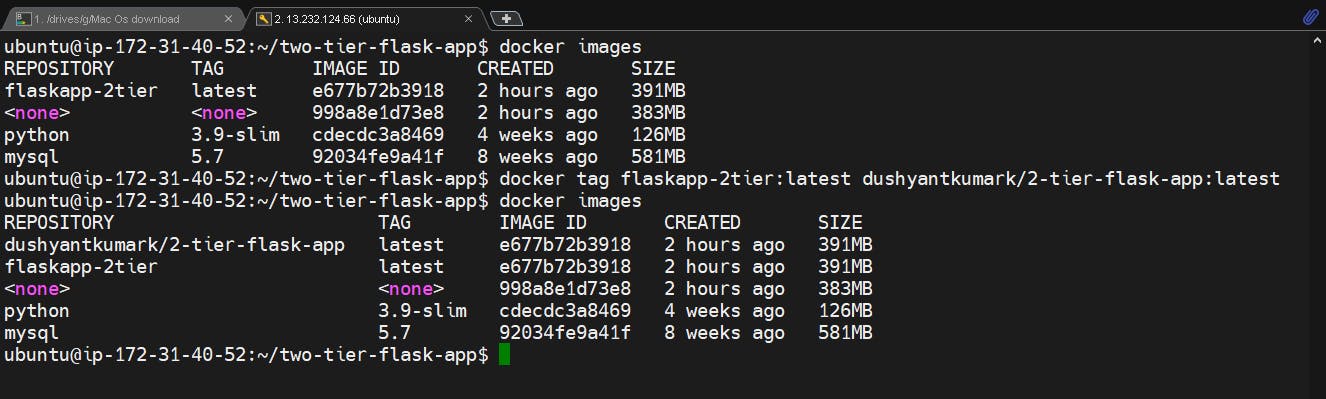
Again tag your docker image with your dockerhub username.
  docker images
  docker tag flaskapp-2tier:latest dushyantkumark/2-tier-flask-app:latest
  docker images
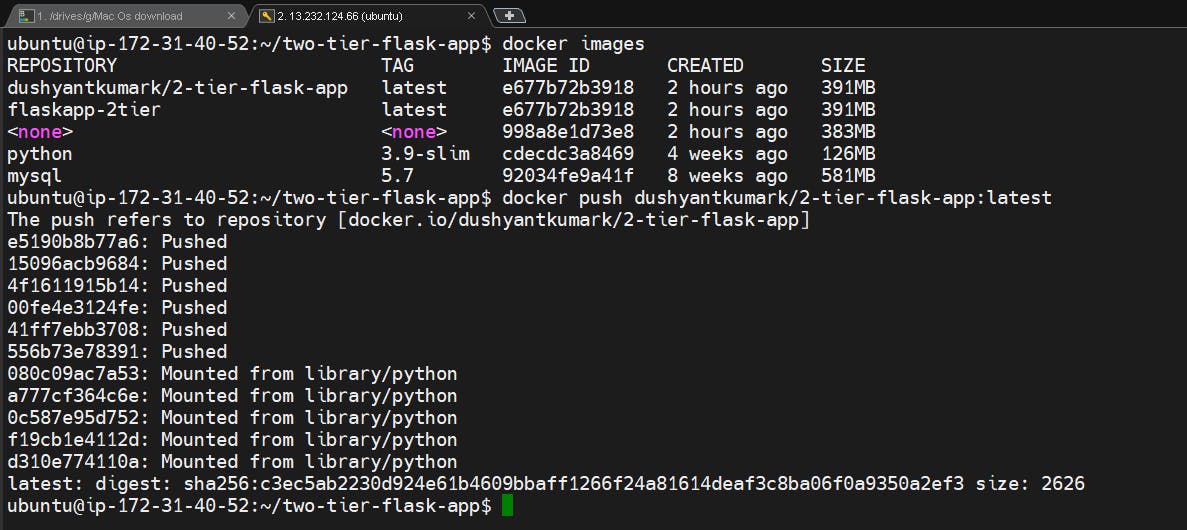
Push your tagged docker image to your docker hub account.
docker push dushyantkumark/2-tier-flask-app:latest
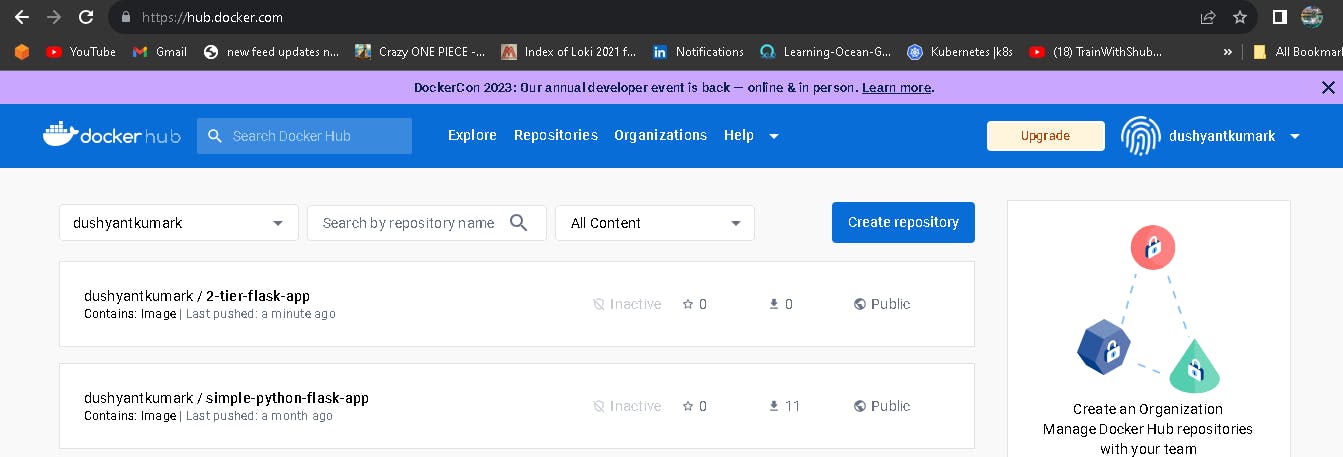
Check your docker image in the docker hub account.
\...................................................................................................................................................
The above information is up to my understanding. Suggestions are always welcome. Thanks for reading this article.😊
#aws #cloudcomputing #docker #Devops #TrainWithShubham #90daysofdevopsc #happylearning
Follow for many such contents:
LinkedIn: linkedin.com/in/dushyant-kumar-dk
Blog: dushyantkumark.hashnode.dev
GitHub: https://github.com/dushyantkumark/two-tier-flask-app.git